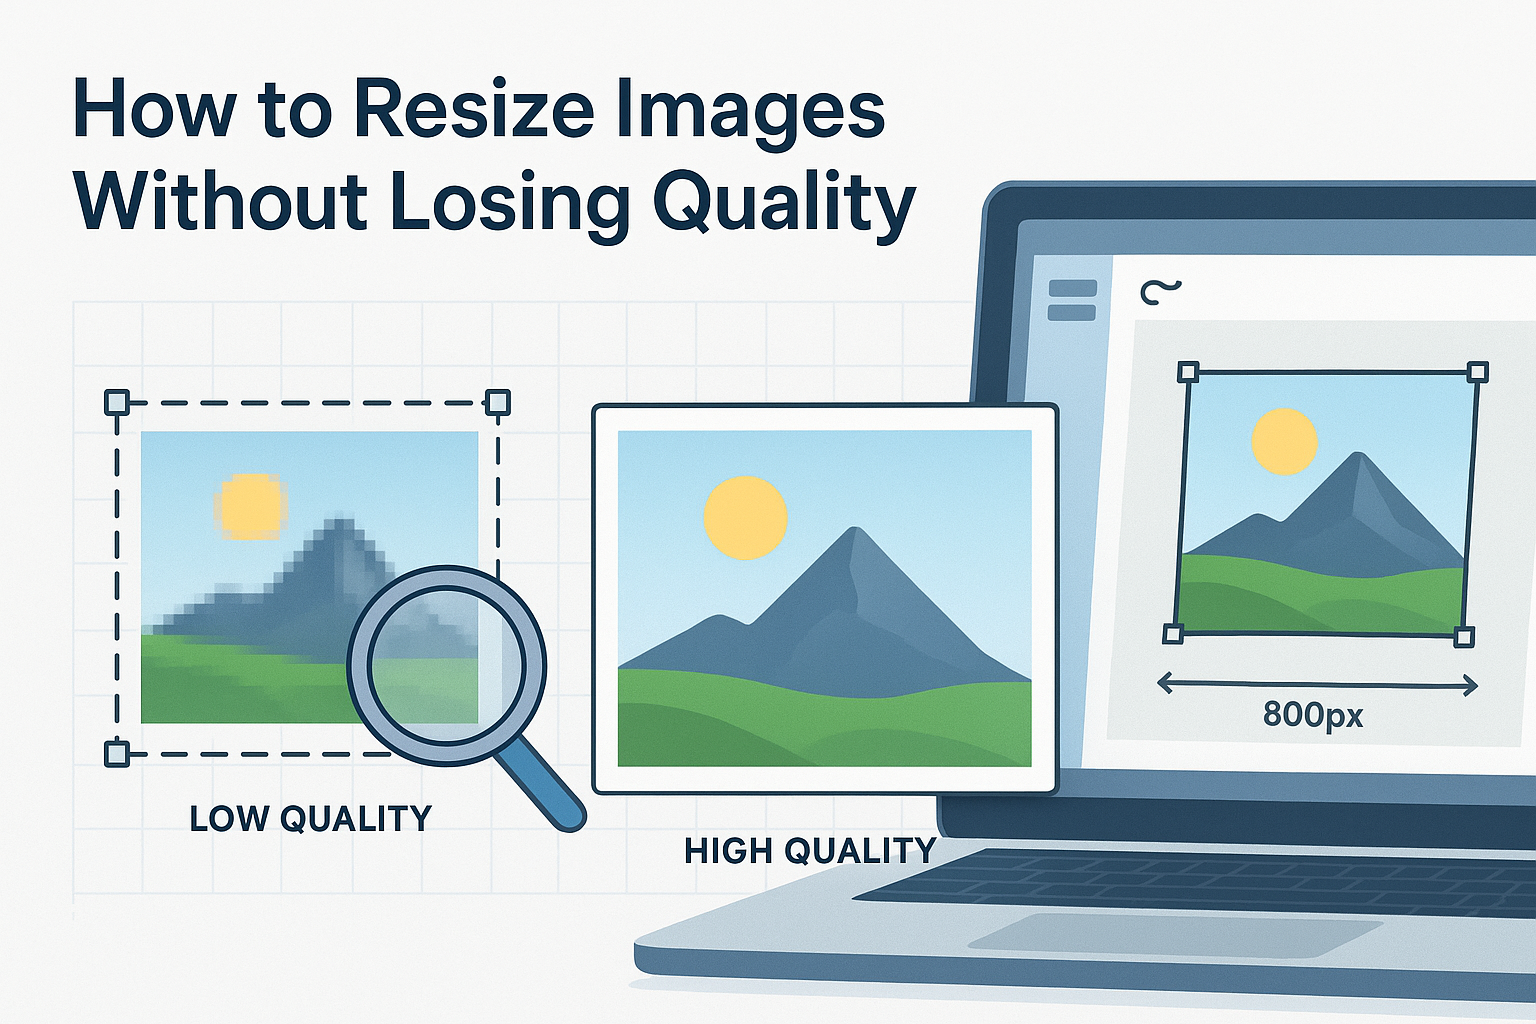
Ever resized a photo and watched it turn soft, blurry, or strangely pixelated? That usually happens when the wrong resize method is used, or when the image format does not match the job.
Here’s the good news. You can resize images without losing quality if you understand a few basics: dimensions, file type, resampling, and compression. Once those pieces are clear, the process becomes simple.
This guide explains how to resize images without losing quality for websites, social media, printing, email, and everyday use. You’ll learn what causes quality loss, which tools and settings work best, and how to avoid the most common mistakes.
What does it mean to resize an image without losing quality?
Resizing an image without losing quality means changing its width, height, or file size while keeping it as sharp, clean, and visually accurate as possible. In practice, some changes are lossless, while others always involve a tradeoff.
Let’s break this down. There are two different tasks people often confuse:
- Changing image dimensions, such as from 4000 × 3000 pixels to 1200 × 900 pixels
- Reducing file size, such as making a 6 MB photo small enough for a website or email
These are related, but not identical. A file can keep the same dimensions and still shrink in size through compression. Or it can be resized to smaller dimensions and still look very good if done correctly.
If you need to reduce upload weight after resizing, an image compressor tool can help cut file size without making the image look obviously degraded.
Why do images lose quality when resized?
Images usually lose quality because the software removes, invents, or compresses pixel data poorly. The biggest problems happen when a small image is enlarged too much or when a file is saved repeatedly in a lossy format like JPEG.
Here’s the problem. Raster images are made of pixels. When you shrink them, software has to decide which pixels to remove. When you enlarge them, it has to guess what new pixels should look like. That guess is never perfect.
- Downscaling issues: details may disappear if the resize algorithm is weak
- Upscaling issues: the image may look blurry because new pixels are estimated
- Compression damage: aggressive JPEG compression creates artifacts and softness
- Wrong format: saving graphics or text-heavy visuals as JPEG can reduce clarity
- Repeated exports: each lossy save can lower quality further
For technical background on responsive images and browser behavior, MDN’s responsive images guide is a solid reference.
Does resizing down or resizing up affect quality more?
Upscaling affects quality more. Making an image larger than its original dimensions usually causes visible softness, because the software must create pixel information that did not exist in the first place.
| Resize Type | What Happens | Quality Risk |
|---|---|---|
| Downscaling | Pixels are removed to fit smaller dimensions | Low to moderate if handled well |
| Upscaling | New pixels are generated by interpolation or AI | High, especially with large enlargements |
Here’s what experienced professionals do differently. They start with the largest clean original they have, then create smaller versions from that source. They do not enlarge a compressed image downloaded from a website and expect perfect results.
Which image formats preserve quality best?
The best format depends on the image type. PNG works well for graphics and text. JPEG is better for photographs. WebP often gives strong quality at smaller file sizes. SVG is ideal for logos and icons because it scales without pixel loss.
This small detail changes everything. “Best quality” is not just about visual sharpness. It also includes file size, transparency support, browser compatibility, and intended use.
| Format | Best For | Quality Notes |
|---|---|---|
| JPEG | Photos | Good quality at small sizes, but lossy |
| PNG | Screenshots, graphics, text overlays | Lossless, larger files |
| WebP | Web images | Strong compression with good quality |
| SVG | Logos, icons, illustrations | Scales perfectly because it is vector-based |
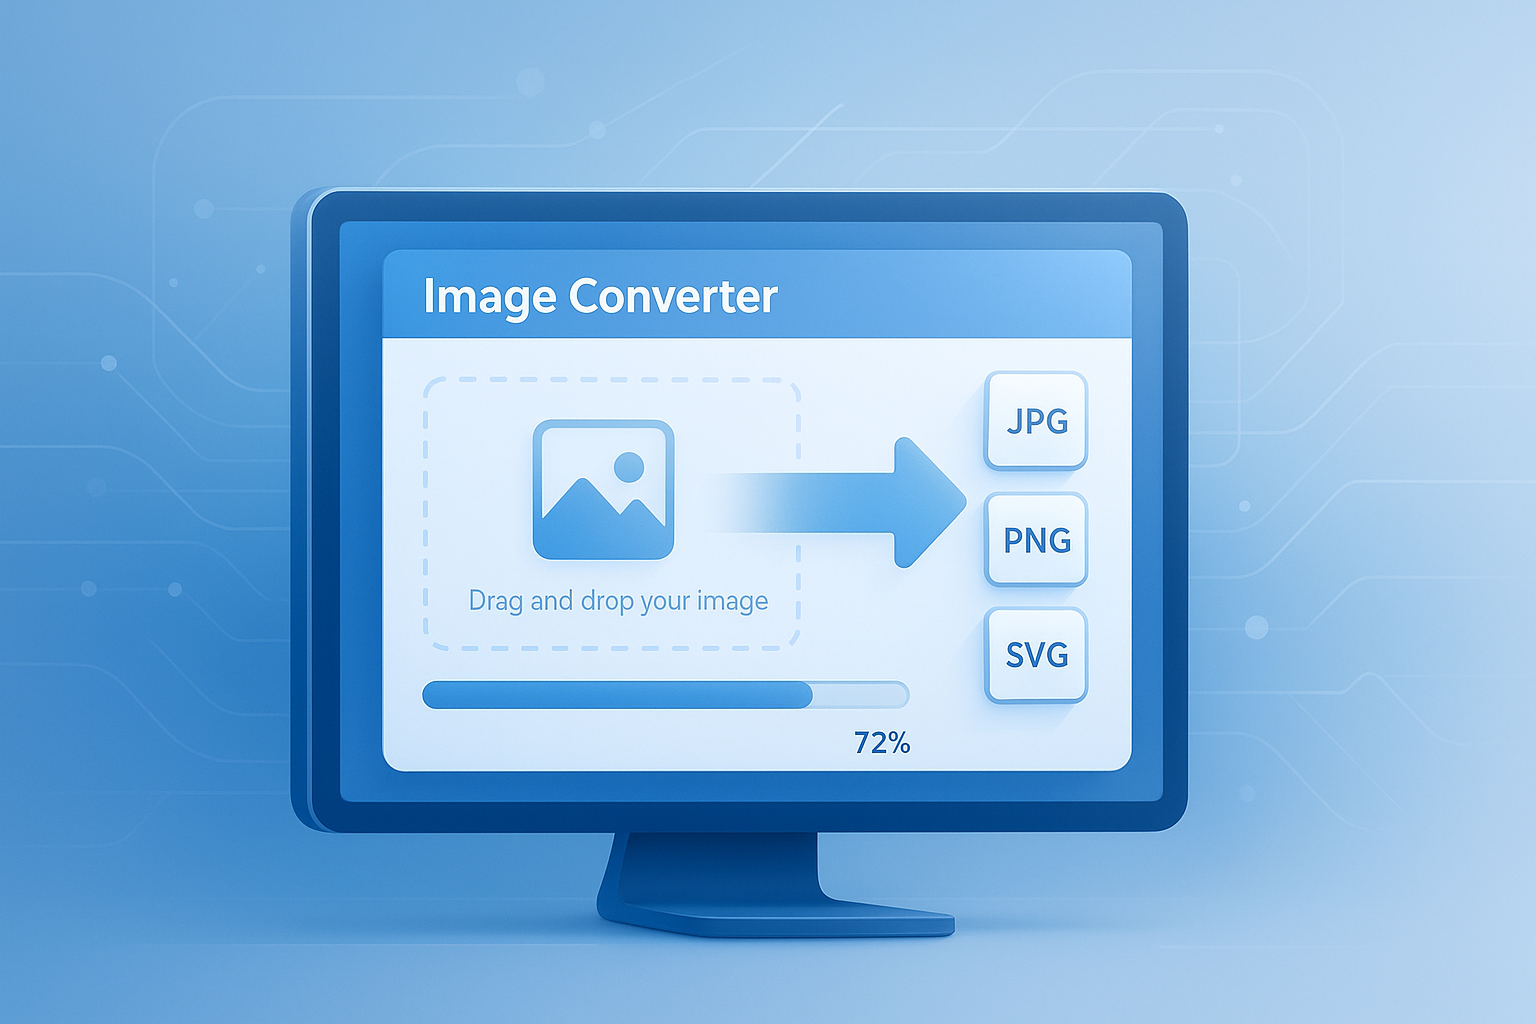
If you need to switch file types after resizing, a practical next step is using an image converter tool so the format matches the purpose of the image.
Google also explains modern image formats and optimization in its image optimization guidance.
How to resize images without losing quality
The safest method is simple: start with the original file, keep the aspect ratio locked, resize once to the target dimensions, choose the right export format, and avoid excessive compression.
- Use the original image. Start with the highest-quality source available.
- Know the target size. Decide whether you need the image for web, print, email, or social media.
- Keep aspect ratio locked. This prevents stretching and distortion.
- Resize in one step. Avoid multiple rounds of shrinking and re-saving.
- Choose the right resampling method. Good software offers bicubic, lanczos, or AI-based scaling.
- Export in the proper format. JPEG for photos, PNG for sharp graphics, WebP for web use.
- Preview before saving. Check edges, faces, text, and fine textures.
- Compress carefully if needed. Reduce file size only as much as necessary.
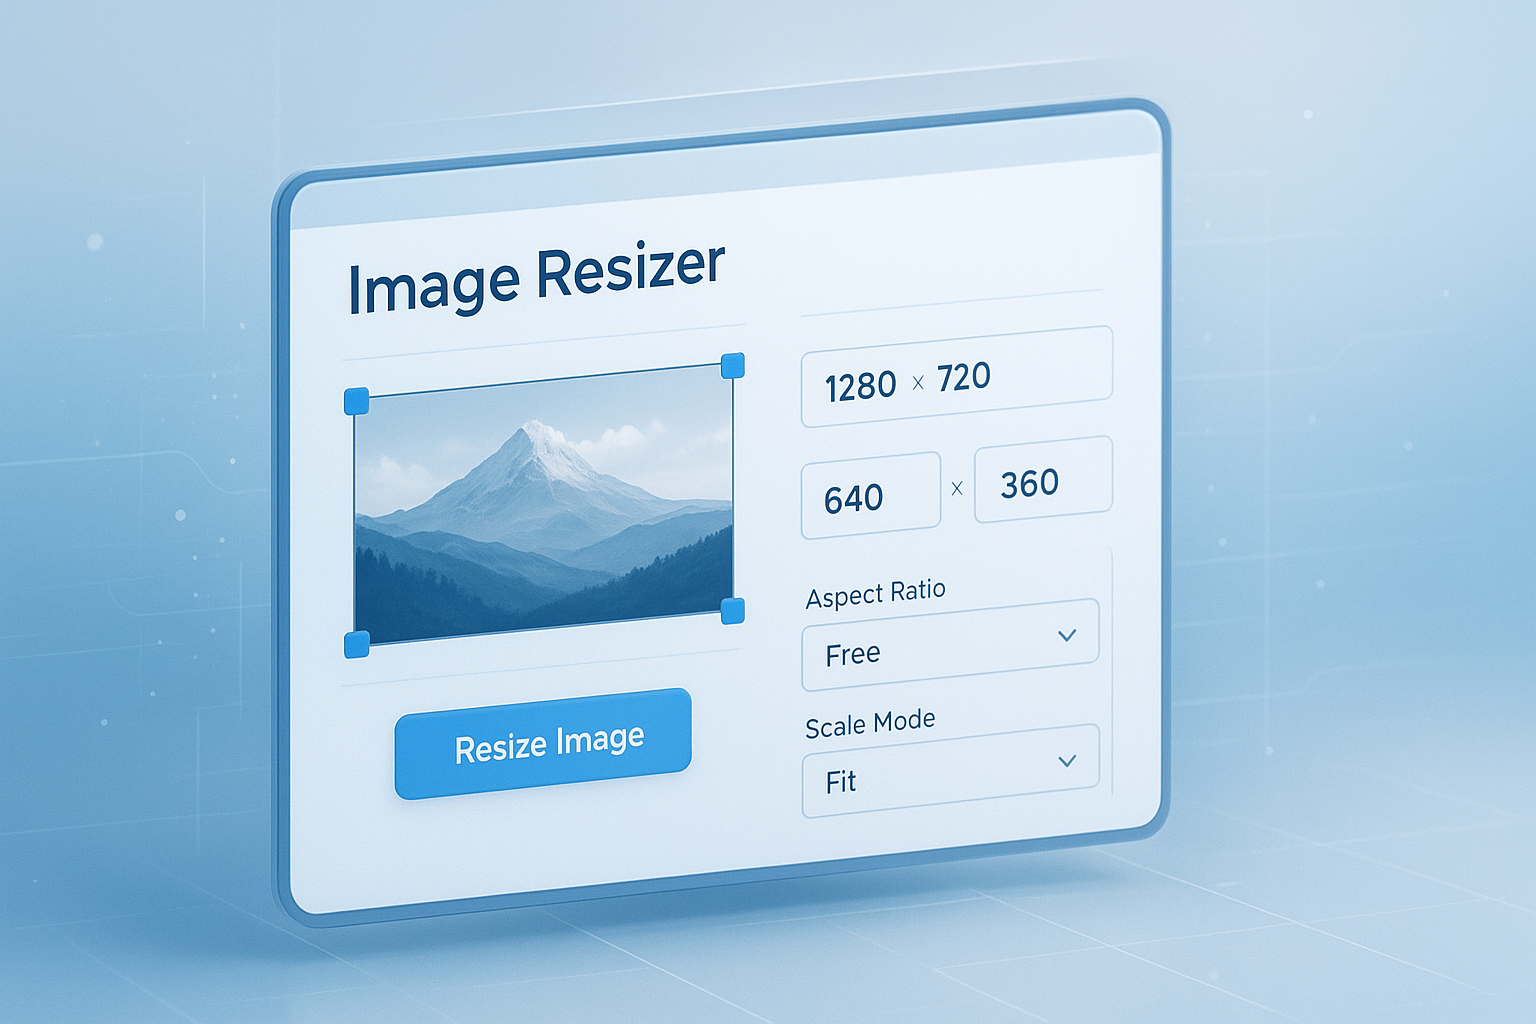
Suggested Screenshot: Image resize settings showing width, height, lock aspect ratio, and export quality slider
What settings matter most when resizing an image?
The most important settings are dimensions, aspect ratio, interpolation or resampling method, output format, and compression level. Most quality problems happen because one of these is ignored.
1. Dimensions
Pick the final size before exporting. If your blog content area is 1200 pixels wide, there is little reason to upload a 5000-pixel image unless it serves a specific zoom or retina need.
If you are unsure about pixel measurements, a pixels to inches converter can help when working between screen and print sizes.
2. Aspect ratio
This is the relationship between width and height. If you change one value without maintaining the ratio, the image stretches. Faces become wider, circles turn into ovals, and layouts look unprofessional.
3. Resampling method
This is where many people struggle. Better resize algorithms preserve edges and detail more effectively. Common methods include bicubic, bilinear, nearest neighbor, and lanczos. For photos, lanczos or bicubic sharper often performs well.
4. Compression level
Compression reduces file size. Too much compression creates blocky textures, color banding, and smudged details. For JPEG exports, moderate settings usually give the best balance.
5. Color profile
If colors look different after export, the color profile may be the issue. For web images, sRGB is typically the safest option because it is widely supported.
Best ways to resize images for different use cases
The right approach depends on where the image will appear. A website banner, printed flyer, Instagram post, and email attachment all need different dimensions and file size priorities.
| Use Case | Best Format | Main Goal |
|---|---|---|
| Website images | WebP or JPEG | Fast loading with clear visuals |
| Social media | JPEG or PNG | Correct dimensions and strong visual clarity |
| PNG, TIFF, or high-quality JPEG | High resolution and accurate detail | |
| Email attachments | JPEG or PDF | Small size and easy sharing |
For websites
Resize to the maximum display size needed on the page, then compress carefully. This improves load speed, which matters for user experience and SEO. Google’s SEO guidance consistently supports performance-friendly pages.
If your image still feels heavy after resizing, use an online image resizer first, then optimize the final file separately.
For print
Print quality depends on physical size and resolution. You often need 300 DPI for sharp printed materials. The pixel dimensions must be large enough for the final print size, not just good on screen.
When planning print dimensions, an inches to pixels converter helps map your design size to the resolution needed.
For social media
Each platform uses preferred aspect ratios and dimensions. Resize to the platform standard before uploading to reduce unwanted cropping or extra compression by the platform itself.
How to resize images for web without hurting SEO
To resize images for web SEO, use the correct display dimensions, compress the file, choose a modern format like WebP when possible, and keep the image visually clean while reducing page weight.
Now comes the important part. Image optimization is not only about quality. It also affects loading speed, Core Web Vitals, accessibility, and search visibility.
- Upload images close to the actual display size
- Use descriptive file names
- Add meaningful alt text
- Prefer WebP or well-optimized JPEG for many web uses
- Avoid huge hero images unless they are properly optimized
- Use responsive image techniques when building custom sites
For developers and site owners, the web.dev image optimization guide offers useful best practices.
If you also work with documents that include images, a PDF compressor can reduce oversized PDFs without needing to manually extract every image first.
Can you enlarge an image without losing quality?
You can enlarge an image with minimal visible quality loss, but not with perfect fidelity in most cases. Traditional upscaling softens detail. AI upscaling can improve results, but it still estimates missing information rather than recovering the original data.
The answer depends on one thing: how much larger you need the image to be.
- Small increase, like 10% to 25%: often acceptable with good software
- Moderate increase, like 25% to 100%: quality may still be usable, depending on the source
- Large increase, like 2x to 4x or more: expect tradeoffs, even with AI tools
Here’s what helps most:
- Start with the cleanest original file
- Reduce noise before upscaling if needed
- Use advanced resampling or AI enlargement
- Sharpen lightly after resizing, not before
- Do not over-compress the exported result
Common mistakes that ruin image quality
Most quality loss comes from a few avoidable mistakes: resizing from a low-quality source, exporting multiple times, choosing the wrong format, or using heavy compression just to chase a smaller file size.
- Enlarging a tiny image too much
- Saving the same JPEG over and over
- Using PNG for large photos when file size matters more than lossless quality
- Using JPEG for screenshots with text and icons
- Ignoring aspect ratio
- Uploading oversized images directly to a website
- Applying too much sharpening after resizing
If you often need to prepare screenshots, graphics, and documents together, converting the final image into a shareable format with a JPG to PDF tool can be useful for reports, portfolios, or client handoffs.
Best practices professionals use
Professionals protect image quality by working from originals, setting a target size before export, creating separate versions for each use case, and keeping compression and format choices intentional.
Here’s a practical workflow that works well for most people:
- Keep the untouched original file in a separate folder
- Duplicate the original before editing
- Crop first, then resize
- Export one version for web and another for print if needed
- Check the image at 100% zoom before publishing
- Test file size and loading speed on actual devices
Suggested Infographic: Original image to crop to resize to format selection to compression to final export
If your workflow includes dimensions, proportions, or layout planning, even a simple utility like an aspect ratio calculator can help prevent awkward crops and stretched visuals.
How to choose the right image size before resizing
The best image size starts with the final use. Ask where the image will appear, how large it will display, whether it needs to support zoom, and whether speed or print detail matters more.
Use this quick checklist:
- What is the display width in pixels?
- Will the image be viewed on high-density screens?
- Does the platform crop automatically?
- Is the image a photo, logo, screenshot, or illustration?
- Will it be printed?
- Is there a strict file size limit?
For example, a blog image may only need 1200 to 1600 pixels wide, while a print poster needs far more. Planning the target up front avoids repeated edits and quality loss.
Frequently asked questions
1. How can I resize an image without losing quality for free?
You can do it for free by using a reliable image resizer, starting with the highest-quality original, and exporting in the right format. Keep the aspect ratio locked and avoid resizing the same file repeatedly. If the image is for web use, resize first and then compress lightly. That workflow usually gives better results than trying to force a large file reduction in one step.
2. Does reducing image size always reduce quality?
No. Reducing dimensions does not always create visible quality loss. In many cases, a properly downscaled image still looks sharp, especially on web pages and mobile screens. Problems appear when the software uses poor resampling, when fine details are removed, or when heavy compression is added after resizing. A smaller image can actually look better if it is optimized correctly for its intended display size.
3. What is the best format for resizing photos?
For most photos, JPEG or WebP are the best choices. JPEG is widely supported and works well when exported at sensible quality settings. WebP often produces smaller files with similar visual quality, which is especially useful for websites. If the photo needs transparent background support, PNG may be used, but it usually creates much larger files than necessary for standard photography.
4. What is the best format for screenshots and images with text?
PNG is often the better choice for screenshots, interface captures, charts, and graphics with text. It preserves sharp edges and avoids the fuzzy artifacts JPEG can introduce around letters and icons. If file size matters for web delivery, WebP can also work well. The key is to avoid saving text-heavy visuals as low-quality JPEGs, because that is where clarity tends to drop fast.
5. Can I enlarge a small image and keep it sharp?
You can improve the result, but you usually cannot make it perfectly sharp if the original is too small. A slight enlargement may still look good with quality resampling or AI upscaling. Large enlargements are more difficult because the software must invent missing detail. The cleaner the original image, the better the final result. For important work, start with a larger source whenever possible.
6. Why does my resized image look blurry on my website?
Blurriness often comes from one of three issues: the uploaded image is smaller than the displayed size, the platform is compressing it too aggressively, or the browser is stretching the image through CSS. It can also happen when the wrong file format is used. The fix is to upload an image that matches the intended display dimensions, use proper responsive settings, and avoid excessive compression during export.
7. Is PNG better than JPEG for quality?
PNG is better for preserving exact visual data because it is lossless, but that does not mean it is always the best choice. For photographs, PNG files are often much larger with little visible benefit compared with a well-exported JPEG. For graphics, logos, screenshots, and text, PNG usually preserves clarity better. So the better format depends on the type of image, not just the idea of “quality” in general.
8. How much should I compress an image after resizing?
Compress only as much as needed for the use case. For websites, moderate compression often gives the best balance between speed and image clarity. For print or portfolio work, prioritize visual quality and accept the larger file if necessary. The smart approach is to preview the result at normal viewing size, not just rely on numbers. If artifacts are visible, the compression is too strong.
9. What resolution do I need for printing?
For most high-quality printing, 300 DPI is a common standard. But DPI alone is not enough. The image also needs enough total pixels for the physical print size. A small web image may look fine on screen but fail badly in print because it lacks the required detail. Always calculate the print dimensions first, then confirm the pixel dimensions support that size at your target resolution.
10. Is WebP better for websites than JPEG?
In many cases, yes. WebP often delivers smaller files at similar visual quality, which makes pages load faster. That can improve user experience and help overall site performance. Still, JPEG remains useful because it is universally familiar and easy to work with. If your site and workflow support WebP cleanly, it is usually a strong option for modern web image optimization.
Final thoughts
Resizing images without losing quality is less about finding a magic button and more about making a few smart decisions. Use the original file. Resize for the real destination. Keep the aspect ratio intact. Choose the right format. Compress with care.
If you want a simple workflow, start by resizing the image to its final dimensions, then optimize the file only as much as needed. Tools like an image resizer, image compressor, and image converter can help you move through that process step by step and keep your images clean, sharp, and practical for real-world use.