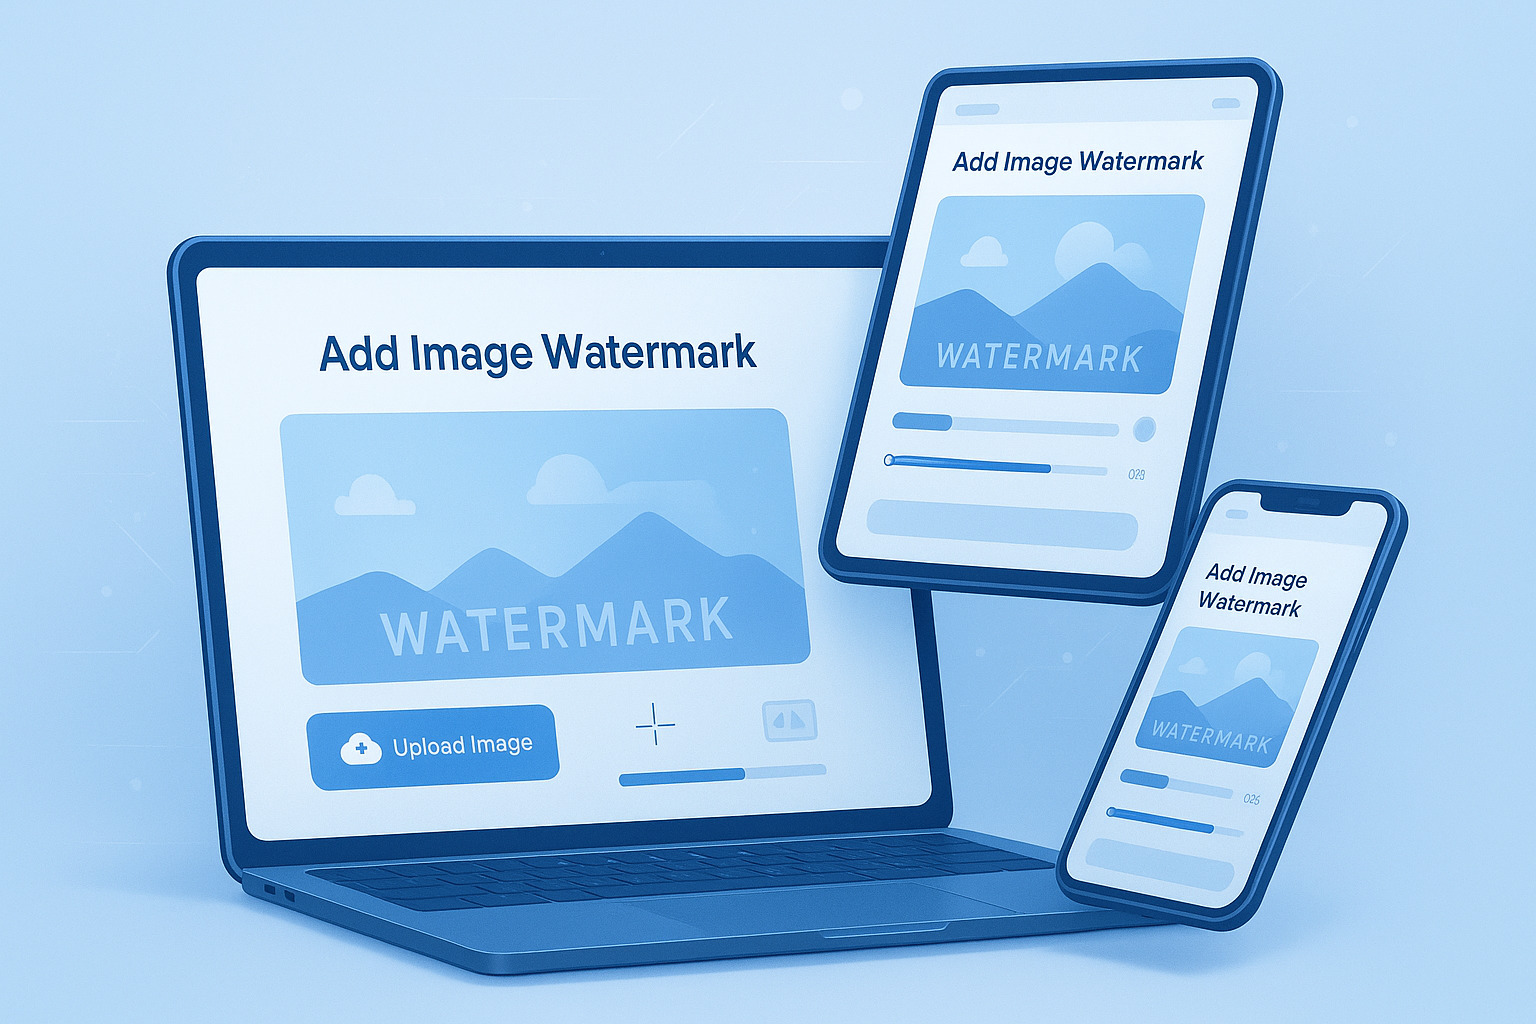

Need to protect your photos, product images, or original designs before sharing them online? Adding a watermark is one of the fastest ways to show ownership without making the image unusable.
The tricky part is doing it well. A watermark that is too large ruins the image. Too small, and people can crop it out. Too bold, and it looks unprofessional. Too light, and it does nothing.
This guide shows you how to add watermarks to images easily and fast, even if you have no design background. You’ll learn the best watermark types, step-by-step methods, common mistakes to avoid, and how to prepare images so they still load quickly after editing.
What is a watermark on an image?
A watermark is text, a logo, or a graphic placed on an image to identify ownership, discourage unauthorized use, or reinforce branding. It can be visible or subtle, but its main purpose is to signal that the image belongs to someone.
- Text watermark: A name, website, copyright notice, or brand slogan
- Logo watermark: A business logo or icon
- Pattern watermark: Repeated text or symbols across the image
- Transparent overlay: A low-opacity graphic that does not fully block the image
If you publish images on websites, marketplaces, or social platforms, watermarking can help protect your work. It also helps when you want your brand name to stay attached to the image as it gets shared.
Suggested Image: Examples of text, logo, and repeated pattern watermarks on the same photo
Why add a watermark to images?
People usually add watermarks for three reasons: protection, attribution, and branding. The right watermark makes it harder for others to reuse your image without credit, while still keeping the image presentable.
- Protect ownership: Makes image theft less convenient
- Build brand recognition: Keeps your business name visible
- Add attribution: Helps viewers trace the image back to the creator
- Reduce unauthorized reposting: Especially useful for product photos and original art
Watermarks are not perfect copyright protection. Someone can still crop or edit them out in some cases. For a better understanding of ownership and image rights, the U.S. Copyright Office FAQ is a useful starting point.
When you finish watermarking, it also helps to reduce file size before uploading. A lightweight image loads faster and improves user experience. That is where an image compressor becomes useful.
What makes a good watermark?
A good watermark is visible enough to discourage misuse but subtle enough that it does not distract from the image. This balance is what separates a professional watermark from one that feels intrusive.
| Good watermark | Poor watermark |
|---|---|
| Readable but not overpowering | Huge and blocks the subject |
| Uses partial transparency | Solid, harsh, and distracting |
| Placed strategically | Easy to crop out |
| Fits the brand style | Uses random fonts or colors |
Here’s what experienced professionals do differently:
- Use a clean logo or short brand name
- Keep opacity moderate, often between 20% and 50%
- Place the watermark near the center for protection or in a corner for subtle branding
- Match size to the image dimensions
- Export in web-friendly formats after editing
If you need to resize the image before placing the watermark, an image resizer tool can save time and keep proportions under control.
How to add watermarks to images easily and fast
The fastest method depends on what you already have: a phone, a desktop editor, or a batch of images for business use. In most cases, the basic workflow is the same: upload the image, add text or a logo, adjust position and opacity, then export.
- Open your image in an editor or watermark tool
- Choose a text watermark or upload your logo
- Set size, color, opacity, and spacing
- Position the watermark where it cannot be removed easily
- Preview the final image
- Export in the correct format
Before uploading anywhere, check the final dimensions and file type. If you are working with a mixed batch, a quick PNG to JPG converter or JPG to PNG converter can help you standardize files.
Method 1: Add a text watermark
Text watermarks are the simplest option. They work well for bloggers, photographers, freelancers, and store owners who want fast attribution without designing a full logo.
- Type your name, brand, or website URL
- Choose a readable font
- Set a neutral color such as white, gray, or black
- Lower the opacity so it blends in
- Add a small shadow if the image background is busy
Text watermark examples:
- © YourBrand 2026
- yourwebsite.com
- Photo by Your Name
- @yourbrand
Method 2: Add a logo watermark
A logo watermark is better when branding matters more than legal attribution. Product photos, portfolio images, and social graphics often look more polished with a simple logo mark.
- Use a transparent PNG logo
- Keep the logo crisp and not oversized
- Reduce opacity for subtle placement
- Place it in a corner for everyday branding
- Move it over the subject area if theft is a bigger concern
If your logo needs a transparent background first, a Base64 image encoder tool may also help developers embed branded assets directly into projects, especially for lightweight web prototypes and HTML email testing.
Method 3: Add a repeated watermark pattern
This is harder to remove because it covers more of the image. It is common for stock previews, licensed artwork, and proof images sent to clients before final payment.
- Repeat your text or logo diagonally across the image
- Keep opacity low to preserve visibility
- Use even spacing
- Avoid making the pattern so strong that people cannot review the image
Where should you place a watermark?
The best placement depends on your goal. If you want subtle branding, place it in a corner. If you want stronger protection, place it over the central subject where cropping becomes difficult.
| Placement | Best for |
|---|---|
| Bottom corner | Branding with minimal distraction |
| Center | Stronger anti-theft protection |
| Across subject | Proofs, previews, and stock samples |
| Repeated pattern | Highest removal difficulty |
This is where many people struggle. They choose a neat corner placement for every image, but that is also the easiest spot to crop. If you sell or license images, a centered watermark may be the smarter trade-off.
Suggested Screenshot: Four versions of the same image with different watermark placements
Best image formats for watermarked images
Watermark quality can change based on the file format you export. JPG is usually best for photos, while PNG works better for graphics or images that need transparency.
- JPG: Smaller file size, ideal for photos and web uploads
- PNG: Better for graphics, logos, and sharper text overlays
- WebP: Modern format with good compression and quality support
The MDN guide to image file formats explains how common image formats behave in browsers and on the web.
If your finished file is too heavy, use a WebP to PNG converter or another format tool when compatibility becomes an issue across apps and websites.
How to watermark images without ruining quality
You do not need expensive software to get a clean result. What matters most is exporting the image carefully, using the right dimensions, and avoiding repeated compression.
- Start with the original high-quality image
- Add the watermark before resizing multiple times
- Use moderate compression only once at export
- Preview text sharpness at full size
- Choose PNG if watermark edges look blurry in JPG
Now comes the important part. Many people keep reopening and re-saving the same file. Each export can reduce image quality, especially with JPG. Make one clean edit from the source file, then export the final version once.
If you are publishing on a website, check image dimensions after export. Oversized uploads can slow down pages. A aspect ratio calculator helps you keep the right proportions before sharing or embedding the image.
Common watermark mistakes to avoid
Most bad watermarks fail for the same reasons: poor placement, poor contrast, or poor balance. A watermark should protect the image without making viewers feel like they are fighting to see it.
- Using a watermark that is too opaque
- Choosing a tiny watermark that disappears on mobile
- Placing it only in a crop-friendly corner
- Using decorative fonts that are hard to read
- Adding too much text
- Exporting at low quality after editing
- Applying different watermark styles to every image
For websites and blogs, consistency matters. If each image has different sizing or text alignment, the page can look messy. To keep assets uniform, some creators also rely on a CSS minifier and other cleanup tools while preparing front-end pages with large image libraries.
Should you use a visible watermark or invisible watermark?
A visible watermark is what most people mean when they talk about watermarking images. An invisible watermark uses metadata, embedded ownership information, or forensic marking that users do not see directly.
| Type | Pros | Cons |
|---|---|---|
| Visible watermark | Easy to spot, supports branding, discourages theft | Can affect appearance of the image |
| Invisible watermark | Does not change visual design | Does not visibly deter copying |
For most readers, visible watermarking is the practical choice. If legal proof matters, you may want both visible protection and proper copyright documentation. The W3C documentation and similar standards resources are also useful when images are part of structured publishing workflows.
How to watermark multiple images at once
Batch watermarking is the fastest option when you have dozens or hundreds of images. It is ideal for ecommerce, event photography, blog media libraries, and client proof galleries.
- Prepare one watermark file or standard text style
- Use the same position and opacity for all images
- Resize images to a common dimension first
- Apply the watermark in batch mode
- Export all files to the same format
- Compress only after the watermark is added
Here’s the problem. If your image sizes are inconsistent, the watermark will look too large on some files and too small on others. Standardizing dimensions first solves this. For that step, an pixels to inches converter is useful when you need consistent display or print sizing.
Best practices for social media, blogs, and ecommerce images
Different platforms need different watermark styles. A one-size-fits-all approach rarely works because the risk, image size, and viewer behavior are different on each channel.
For social media
- Use a small logo or short handle
- Keep the watermark visible on mobile screens
- Avoid placing it where platform UI may overlap
- Export in platform-friendly dimensions
For blog images
- Use subtle branding instead of aggressive protection
- Keep readability high for charts, screenshots, and illustrations
- Compress images so pages load faster
- Stay consistent across featured and inline images
For ecommerce
- Protect product photos without hiding product details
- Use light branding on standard images
- Use stronger centered marks for premium or original visuals
- Test appearance on white and dark backgrounds
If you manage blog visuals and care about search performance, the Google Search Central SEO Starter Guide is worth reviewing for image handling, crawlability, and general site quality.
Step-by-step example: a simple watermark workflow that works
If you want a repeatable process, use this checklist. It is fast, practical, and works for most personal and business images.
- Choose the final image size first
- Create a short watermark text or transparent logo
- Place it in a corner for branding or center for stronger protection
- Lower opacity until it is visible but not distracting
- Preview the image on desktop and mobile
- Export in JPG for photos or PNG for sharper overlays
- Compress the final file for web use
- Store the original unwatermarked version safely
Suggested Infographic: Simple 8-step watermark workflow from original image to final export
Frequently asked questions
1. What is the easiest way to add a watermark to an image?
The easiest way is to use a basic image editor or online watermark tool that lets you upload a photo, add text or a logo, adjust opacity, and export. For most people, a text watermark is the fastest option because it does not require a prepared logo file. If you work with many images, batch watermarking saves much more time than editing them one by one.
2. Should I use text or a logo as my watermark?
It depends on your goal. Text is better for clear attribution because people can read your name or website instantly. A logo is better for branding and often looks cleaner on product images or portfolio work. If your audience already recognizes your brand, a logo may be enough. If not, a short text watermark often does the job better.
3. Where is the best place to put a watermark?
The best place depends on whether you care more about branding or protection. Corner placement is popular because it looks subtle, but it is easier to crop out. Center placement or placement across the main subject is more secure. For proofs and preview images, a repeated diagonal pattern is usually the hardest to remove while still letting viewers see the image.
4. Can someone remove a watermark from an image?
Yes, in some cases. Simple corner watermarks can be cropped, and some editing tools can reduce or remove them. That said, a well-placed watermark still discourages casual theft and unauthorized reposting. If the image has real business value, combine watermarking with copyright registration, original file storage, and clear licensing terms instead of relying on watermarking alone.
5. Does adding a watermark reduce image quality?
Adding a watermark itself does not have to reduce quality. Quality loss usually happens during export, especially if the image is saved repeatedly in a compressed format like JPG. The best approach is to edit the original once, place the watermark carefully, and then export the final copy in the right format and compression level. PNG can preserve sharper watermark edges when needed.
6. Are watermarked images good for SEO?
They can be, as long as the watermark does not hurt user experience. If a watermark blocks important content, users may leave the page faster. Keep it subtle for blog images and make sure the file is optimized for fast loading. SEO depends more on image relevance, file size, alt text, page quality, and overall usefulness than on the watermark itself.
7. What opacity should a watermark use?
A practical range is often between 20% and 50%, but the right setting depends on the image background and your goal. A darker image may need a brighter or more opaque watermark, while a light product image may need a softer one. Always preview at full size and on mobile. If the watermark disappears on smaller screens, it is probably too faint.
8. Is it better to watermark images before or after resizing?
Usually, resize first and then apply the watermark based on the final output dimensions. This gives you better control over the watermark’s scale and placement. If you watermark a very large original first and later shrink it too much, the text may become unreadable. For batch work, standardizing image dimensions before watermarking creates a cleaner, more consistent result.
9. What format should I save a watermarked image in?
JPG is usually best for photographs because it keeps file size lower, which helps with faster loading. PNG is better when the watermark includes sharp edges, logos, or graphics that need better clarity. WebP is also a strong option for web use if your platform supports it. The right format depends on the image type, quality needs, and where you plan to publish it.
10. Can I watermark images on my phone?
Yes. Many mobile apps and built-in editing tools let you add text or graphic overlays quickly. This is convenient for social media creators and small businesses posting on the go. The risk is inconsistency. Mobile workflows can be fast, but make sure the watermark size, alignment, and opacity stay uniform across images so your content still looks professional.
11. Are watermarks necessary for every image?
No. Some images benefit from watermarking, while others are better left clean. For example, product previews, client proofs, and original photography often justify a watermark. Educational blog graphics, interface screenshots, or visuals where clarity matters most may not need one or may only need subtle branding. The right decision depends on theft risk, brand goals, and how the image will be used.
12. What should I do after watermarking my image?
After watermarking, check the final image on both desktop and mobile, confirm the watermark is readable, and make sure the file size is not too large. Then export in the correct format and keep the original unwatermarked file stored safely. If you publish online, compress the image and verify that it still looks sharp after upload. This final check prevents most quality and usability issues.
Final thoughts
Adding a watermark to images easily and fast comes down to a simple formula: use the right watermark type, place it with purpose, keep it readable, and export the image carefully. That gives you a better balance of protection, branding, and visual quality.
If you are preparing images for websites, stores, or social posts, the next logical step is to optimize them after watermarking. Tools like an image compressor, image resizer, and aspect ratio calculator help you finish the job properly without slowing down your workflow.
The small details matter here. A clean watermark is only half the job. A fast, correctly sized, web-ready image is what makes the final result usable.