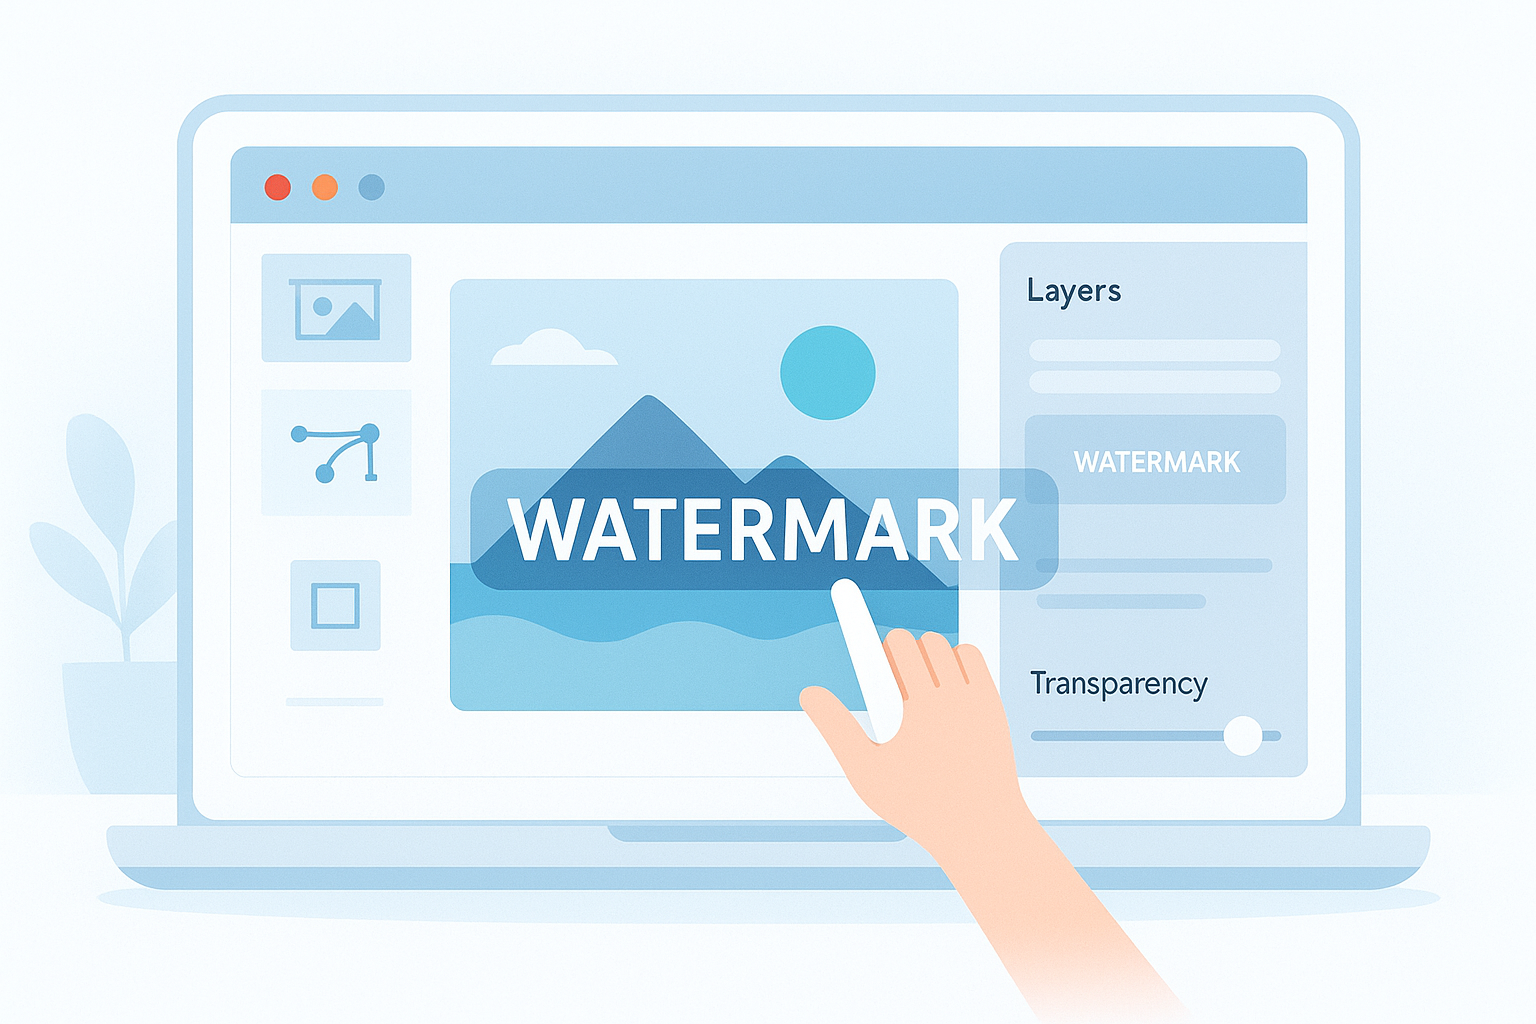
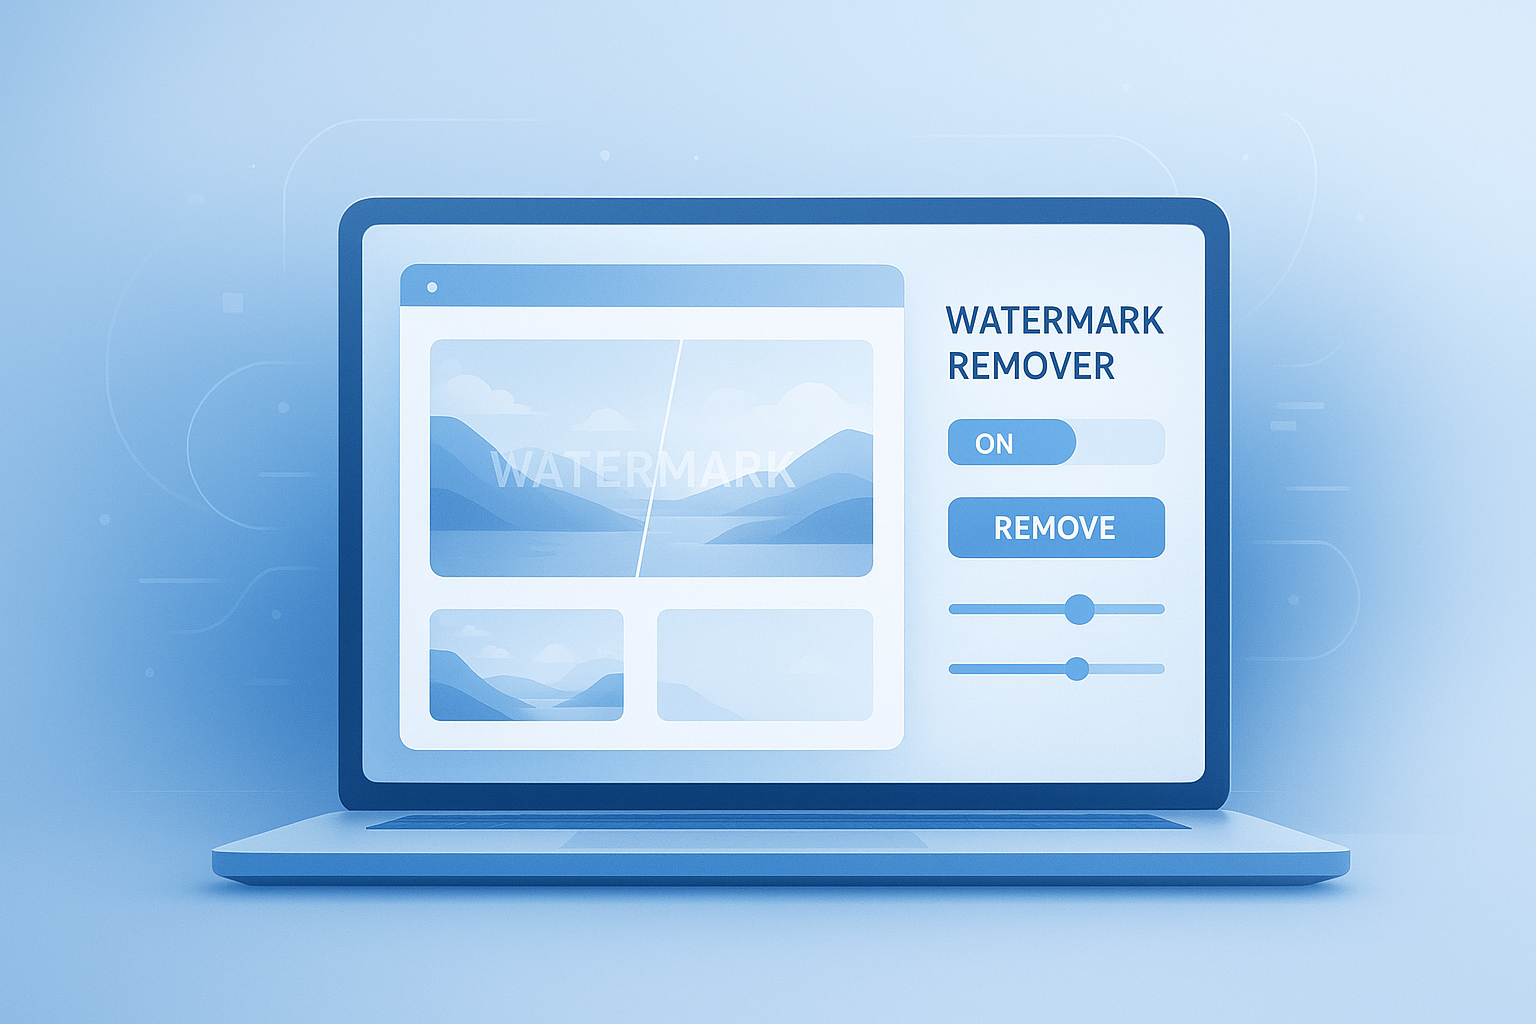
Ever downloaded a great image, only to realize a big logo, date stamp, or text mark is sitting right across the subject? That’s when most people start searching for a watermark remover.
The problem is that removing watermarks isn’t always as simple as clicking one button. Some marks fade cleanly. Others blend into backgrounds, skin tones, or textured areas and leave obvious damage behind.
This guide explains how a watermark remover works, when it can deliver clean results, and what to do when the watermark is difficult to erase. You’ll also learn safer editing practices, common mistakes to avoid, and how to keep image quality intact in 2025.
Suggested Image: Modern illustration showing a photo before and after watermark removal
What is a watermark remover?
A watermark remover is a tool that edits an image to hide or reconstruct the area covered by a logo, text, stamp, or branding mark. Most tools do this by filling the selected area with nearby pixels, blending colors, and rebuilding texture so the image looks natural.
In simple terms, it does not “unlock” the original hidden pixels. Instead, it tries to recreate what likely belongs there. That small detail changes everything, because the final quality depends on the image, the watermark shape, and the editing method.
- Simple watermark: small text on a plain background
- Medium difficulty: semi-transparent mark over sky, walls, or blurred areas
- Hard watermark: large logo across faces, hair, products, or detailed patterns
If you plan to reuse the cleaned image online, it also helps to optimize the file afterward with an Image Compressor so the final export stays lightweight without looking blurry.
How does a watermark remover actually work?
A watermark remover works by analyzing the selected area and borrowing color, texture, and edges from the surrounding pixels. Different tools use different methods, but they all try to make the edited section blend in naturally.
Here are the most common approaches:
1. Inpainting
This method fills the selected watermark area using nearby image data. It works well on backgrounds like sky, paper, walls, or smooth surfaces.
2. Clone and healing tools
These let you manually copy clean pixels from one part of the image and place them over the watermark. Healing tools also soften the edges so the patch blends better.
3. AI-based reconstruction
Modern tools use machine learning to predict what should appear behind the watermark. This can save time, but results vary when the hidden area includes text, eyes, jewelry, or detailed objects.
4. Cropping instead of removing
Sometimes the cleanest solution is not removal at all. If the watermark sits near an edge, a crop may preserve quality better than aggressive retouching. If dimensions matter, you can plan the output more precisely with tools like an Aspect Ratio Calculator.
For technical image handling, formats and browser behavior are documented by MDN image format guidance, which is useful if you are comparing PNG, JPG, WebP, or AVIF while exporting edits.
When does watermark removal work well?
A watermark remover gives the best results when the marked area sits over a simple, repeating, or low-detail background. Think open sky, studio backdrops, painted walls, sand, or water.
Here’s where removal usually works well:
- Text watermark on a plain background
- Small corner logo on empty space
- Light semi-transparent mark over blurred areas
- Date stamp on a landscape edge
- Branding over uniform product packaging
In these cases, the software has enough nearby visual information to rebuild the missing section without creating obvious artifacts.
Suggested Screenshot: Example of a small corner watermark removed cleanly from a plain background
When is it difficult to remove a watermark cleanly?
Watermark removal becomes much harder when the mark overlaps complex details. Faces, hair, patterned fabric, building lines, reflections, shadows, and text-heavy regions are the biggest trouble spots.
This is where many people struggle. The tool may erase the watermark, but the repaired area can look smeared, duplicated, soft, or unnatural.
| Image Area | Removal Difficulty | Why |
|---|---|---|
| Sky or blank wall | Easy | Smooth tones are easier to rebuild |
| Grass or sand | Moderate | Repeating textures can be blended |
| Faces and skin | Hard | Tiny inconsistencies are easy to notice |
| Hair and fur | Very hard | Fine strands are difficult to reconstruct |
| Text, logos, or product labels | Very hard | Sharp lines and readable detail are hard to fake convincingly |
If you are preparing visuals for web use after editing, file dimensions matter too. A quick Image Resizer can help adjust the final image for blog posts, product pages, or social sharing.
How to remove a watermark from an image step by step
The easiest way to use a watermark remover is to start small, zoom in, and edit only the marked area. Clean results usually come from careful selection, not aggressive one-click processing.
- Open the image at full quality. Avoid editing a compressed or tiny version if possible.
- Duplicate the original. Keep a backup so you can compare results later.
- Zoom in closely. Small flaws become obvious when you check edges and texture.
- Select only the watermark. Do not include extra background unless needed.
- Run the removal tool. Start with one pass instead of repeating it several times immediately.
- Inspect the repaired area. Look for blur, repeated patterns, halos, or color mismatches.
- Touch up manually if available. Use clone or healing tools for fine corrections.
- Export in the right format. JPG is common for photos, while PNG may be better for graphics.
Before uploading the final image, many beginners also check pixel density or dimensions with a Pixels to Inches Converter to make sure the image fits print or web requirements.
Suggested Infographic: 8-step watermark removal workflow for beginners
Best methods to use based on the image type
The best watermark remover method depends on the type of image you are editing. A product photo, portrait, and screenshot each behave differently, so using the same method for all of them usually leads to weaker results.
Photos with plain backgrounds
- Use inpainting or AI removal first
- Refine edges with healing tools
- Check for color banding in smooth areas
Portraits
- Use small selections instead of one large selection
- Avoid repeated AI passes on skin
- Manually correct eyes, lips, hairline, and shadows
Product images
- Protect straight edges and labels
- Use clone tools for symmetry
- Watch for distorted packaging lines
Screenshots and graphics
- Removal is often harder than it looks
- Sharp text and icons reveal defects quickly
- If possible, recreate the element instead of erasing it
If your image also includes text that needs to be rebuilt, a clean workflow may involve recreating the missing area and then preparing supporting assets with tools from the image design tools category.
Watermark remover vs cropping vs blurring
A watermark remover is not always the best fix. Sometimes cropping the image or covering the mark with a design element produces a cleaner and more honest result, especially for social content or drafts.
| Method | Best For | Main Limitation |
|---|---|---|
| Watermark removal | Recovering usable image areas | Can leave visible artifacts |
| Cropping | Marks near edges | Changes composition and dimensions |
| Blurring or covering | Internal drafts or private reference use | Usually unsuitable for polished public images |
For social media layouts, cropping while maintaining the correct shape is often faster. If needed, you can work out display proportions with an Aspect Ratio Calculator before exporting.
How to keep image quality intact after removing a watermark
Good watermark removal is only half the job. Many images look fine during editing but lose detail after export because of over-compression, wrong file format, or repeated saves.
Here’s what experienced professionals do differently:
- Start with the highest-quality original available
- Edit on a duplicate file, not the only copy
- Avoid saving the image repeatedly in JPG
- Use PNG for graphics and text-heavy visuals when needed
- Resize only after the cleanup is complete
- Compare the edited version at 100% zoom
- Export once for archive and once for web use
For image optimization standards and browser support details, web.dev image optimization guidance is a reliable technical reference. After cleanup, using an Image to Base64 tool can also help developers embed small graphics directly into code when appropriate.
Common mistakes beginners make
Most bad results come from rushing. Beginners often assume a watermark remover should reconstruct everything perfectly in one click, but heavy edits usually need patience and small corrections.
- Selecting too large an area: this gives the tool more room to make mistakes
- Running removal multiple times immediately: repeated passes can create mushy textures
- Ignoring edges: straight lines and borders reveal poor edits quickly
- Using tiny source images: low resolution leaves little data to rebuild from
- Saving over the original: this removes your ability to restart cleanly
- Exporting too aggressively: strong compression can make repaired areas stand out more
If the final result still looks uneven, check the image dimensions, crop candidate, and compression settings before assuming the removal failed.
Is it legal or ethical to use a watermark remover?
This depends on why the watermark is there and whether you have the right to edit the image. A watermark often signals ownership, licensing terms, or restricted use, so removing it without permission can create legal and ethical issues.
The answer depends on one thing: your rights to the image.
- If you own the image, removing your own watermark is generally fine
- If you have permission from the creator, editing may be allowed under that agreement
- If the image is licensed, check the license terms before editing or republishing
- If the watermark belongs to someone else, removal may violate copyright or usage rights
For a basic overview of copyright principles in the United States, the U.S. Copyright Office FAQ is a better source than informal blog posts. The Creative Commons license guide is also useful when you are unsure what reuse is allowed.
What to do if the watermark remover does not work
If a watermark remover leaves obvious artifacts, stop editing and switch strategy. More removal passes rarely fix a damaged area. They usually make textures softer and patterns stranger.
Try this instead:
- Undo the last pass and start from the clean original copy
- Make a smaller, more precise selection
- Remove the watermark in sections rather than all at once
- Use clone or healing tools for edges and details
- Crop the image if the mark sits near the border
- Consider replacing the background or reconstructing missing design elements manually
If you are working with website graphics, it may be faster to recreate the asset than to repair it. For front-end implementation, references from MDN background-image documentation and W3C SVG resources can help when rebuilding simple visual components.
Choosing the right watermark remover for beginners
The best watermark remover for a beginner is one that makes small-area cleanup easy, offers preview controls, and does not destroy image quality after export. Convenience matters, but control matters more.
Look for these features:
- Simple brush or selection tool
- Undo and preview before download
- Support for common image formats
- Manual touch-up options
- Reasonable export quality
- No forced downsizing of the final image
If you are also preparing visuals for online content, related utilities like a Favicon Generator or JPG to PNG converter can help after the editing stage, especially when you need cleaner transparency or web-ready brand assets.
Frequently asked questions
Can a watermark remover restore the original hidden image perfectly?
No. In most cases, a watermark remover cannot recover the exact original pixels hidden underneath the mark. It estimates and rebuilds the missing area using surrounding image data. On simple backgrounds, that can look very convincing. On faces, text, or detailed objects, the reconstructed result may still show blur or visual inconsistencies.
Is a watermark remover safe to use online?
It can be, but you should be careful with sensitive or private images. Before uploading anything personal, check the tool’s privacy policy, file retention policy, and whether uploads are stored on servers. If the image contains confidential information, client work, IDs, or private photography, offline editing or trusted software is usually the safer option.
What image format is best after removing a watermark?
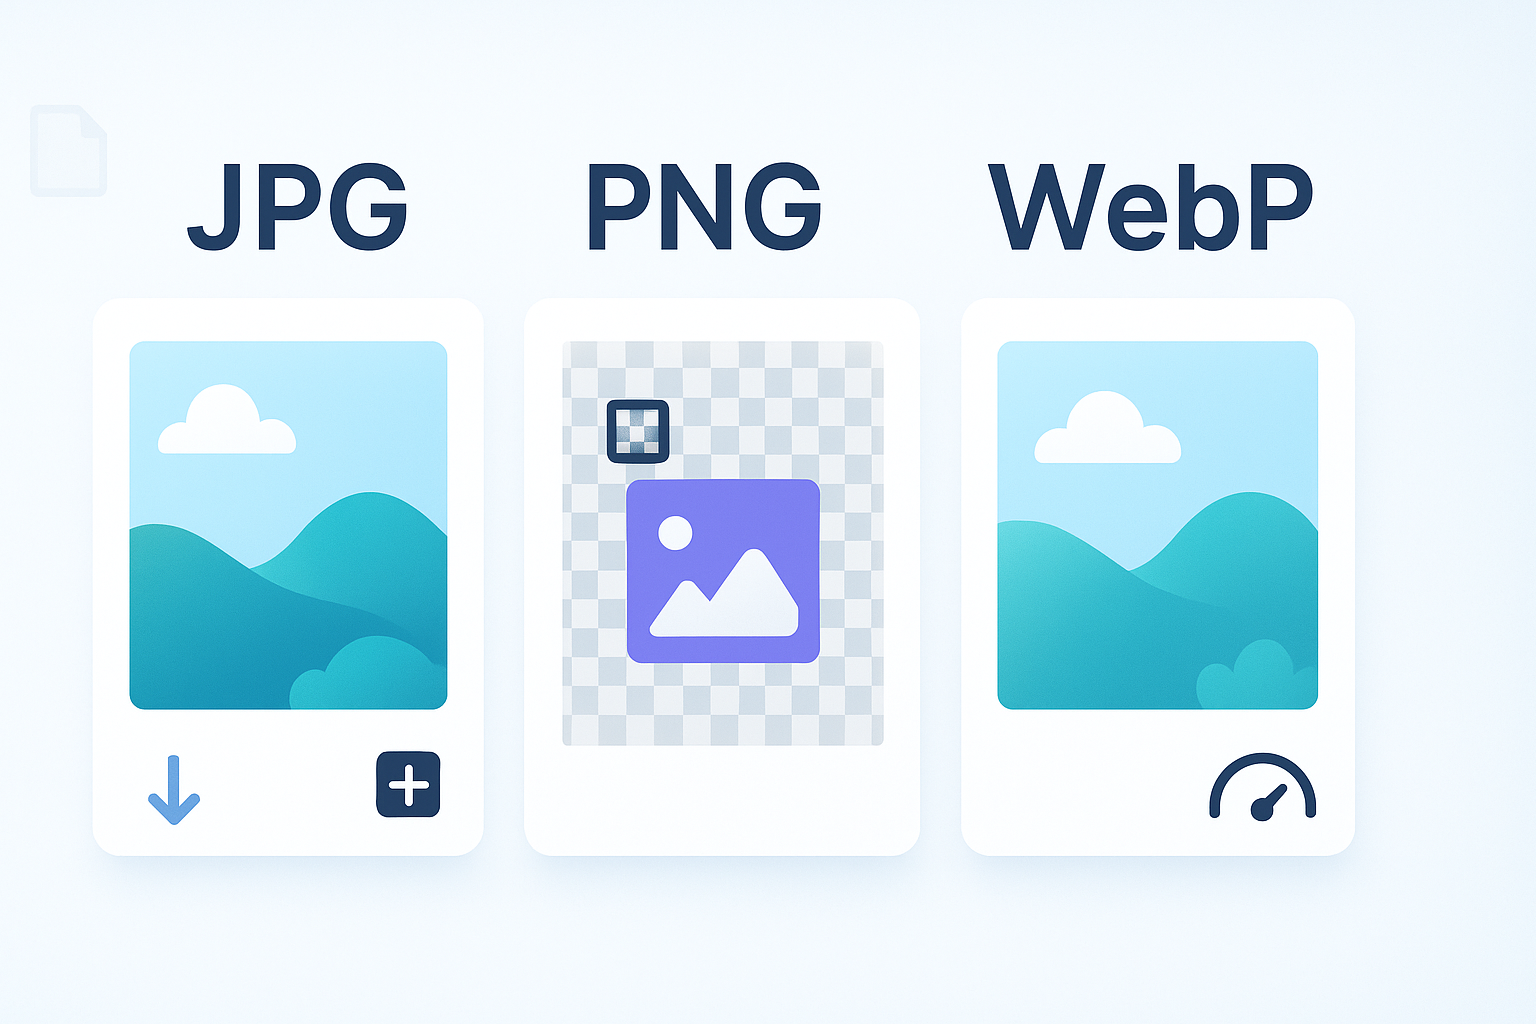
It depends on the image. JPG works well for most photos and keeps file size smaller, but repeated JPG saves can reduce quality. PNG is often better for graphics, screenshots, and images with sharp edges or text. If you need modern web performance, WebP may be a practical export choice if your workflow supports it well.
Why does the edited area look blurry after watermark removal?
Blurriness usually happens when the watermark covered complex details or when the selected area was too large. It can also appear after multiple removal passes or heavy JPG compression during export. A smaller selection, one careful pass, and manual retouching often produce better results than trying to force a full automatic cleanup.
Can I remove a watermark from a screenshot or document image?
Yes, but screenshots and document-style images are often harder than photos. Sharp text, icons, borders, and clean lines make flaws easy to notice. If the watermark overlaps written content, tables, or interface elements, recreating those parts manually may work better than relying on an automatic watermark remover alone.
Is cropping better than using a watermark remover?
Sometimes, yes. If the watermark is near the image edge, cropping is often faster and cleaner. It avoids texture artifacts and keeps the result more natural. The tradeoff is that you change the composition and possibly the output dimensions. For social media, blog thumbnails, and banners, cropping is often the most practical choice.
Do AI watermark removers work better than manual tools?
AI tools can be faster, especially on simple backgrounds, but they are not always better. Manual tools usually give you more control over tricky edges, skin, product outlines, and patterns. In practice, the strongest workflow often combines both: use AI for the bulk cleanup, then fix visible imperfections manually.
Can removing a watermark reduce SEO or website performance?
Not directly, but the edited file can affect performance if you export it at the wrong size or with unnecessary weight. Large image files slow page loads, and poor compression hurts visual quality. After editing, resize and compress the file properly so the image remains clean, fast, and suitable for web publishing.
Final thoughts
A watermark remover can be genuinely useful when the mark is small, the background is simple, and the image quality is strong. But clean results depend on method, patience, and realistic expectations. The tool is rebuilding missing visual information, not magically restoring every hidden detail.
If you are just getting started, begin with an easy image, work on a copy, and zoom in before exporting. Then optimize the final result with practical follow-up tools like an Image Compressor, Image Resizer, JPG to PNG converter, or the broader image design tools category. That next step will help you keep the image clean, usable, and ready for the web.