Need to crop a photo, resize an image, or add quick text without installing heavy software? A browser-based image editor is often the fastest way to get the job done. That’s exactly why tools like Free Toolr’s editor appeal to beginners: they remove the setup, the learning curve, and the “where do I even start?” problem.
This guide explains how the Free Toolr image editor works, what features matter most, and when an online editor makes more sense than desktop software. You’ll also learn a simple workflow for editing images cleanly, avoiding common mistakes, and preparing files for sharing, websites, and everyday use.
If your goal is quick online editing with less friction, this is the practical starting point.
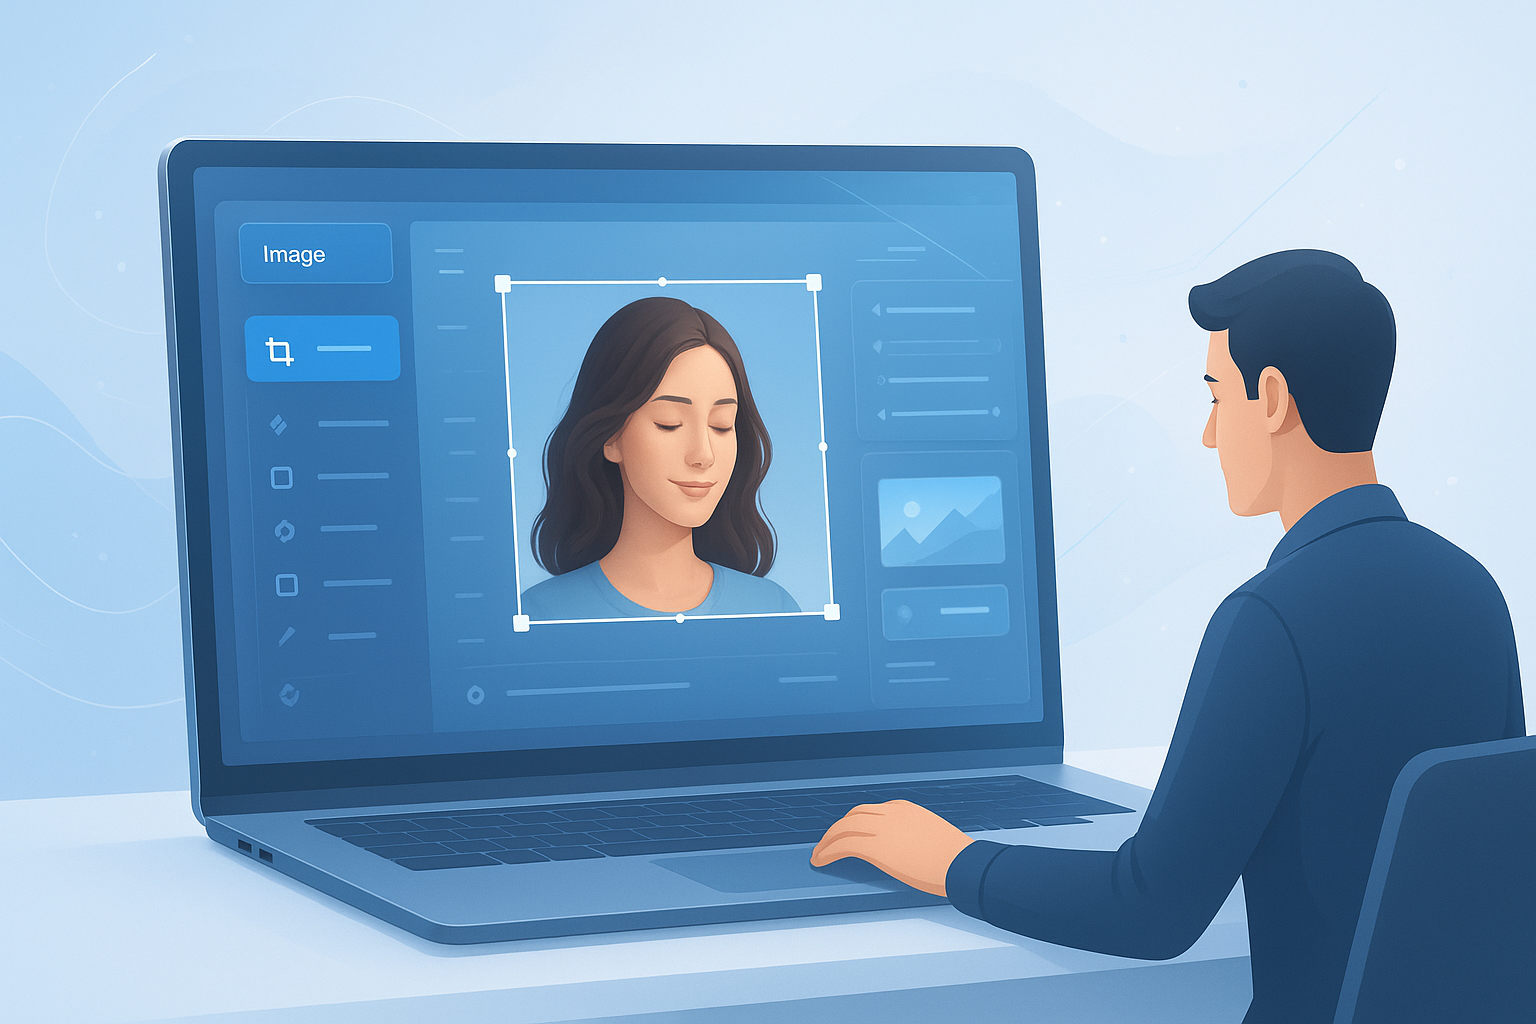
Suggested Image: Modern illustration of a beginner editing a photo in a browser-based image editor
What is Free Toolr Image Editor?
Free Toolr Image Editor is an online image editor designed for quick visual changes directly in your browser. Instead of downloading software, you upload an image, make common edits, and save the result. For beginners, that usually means less setup and faster results.
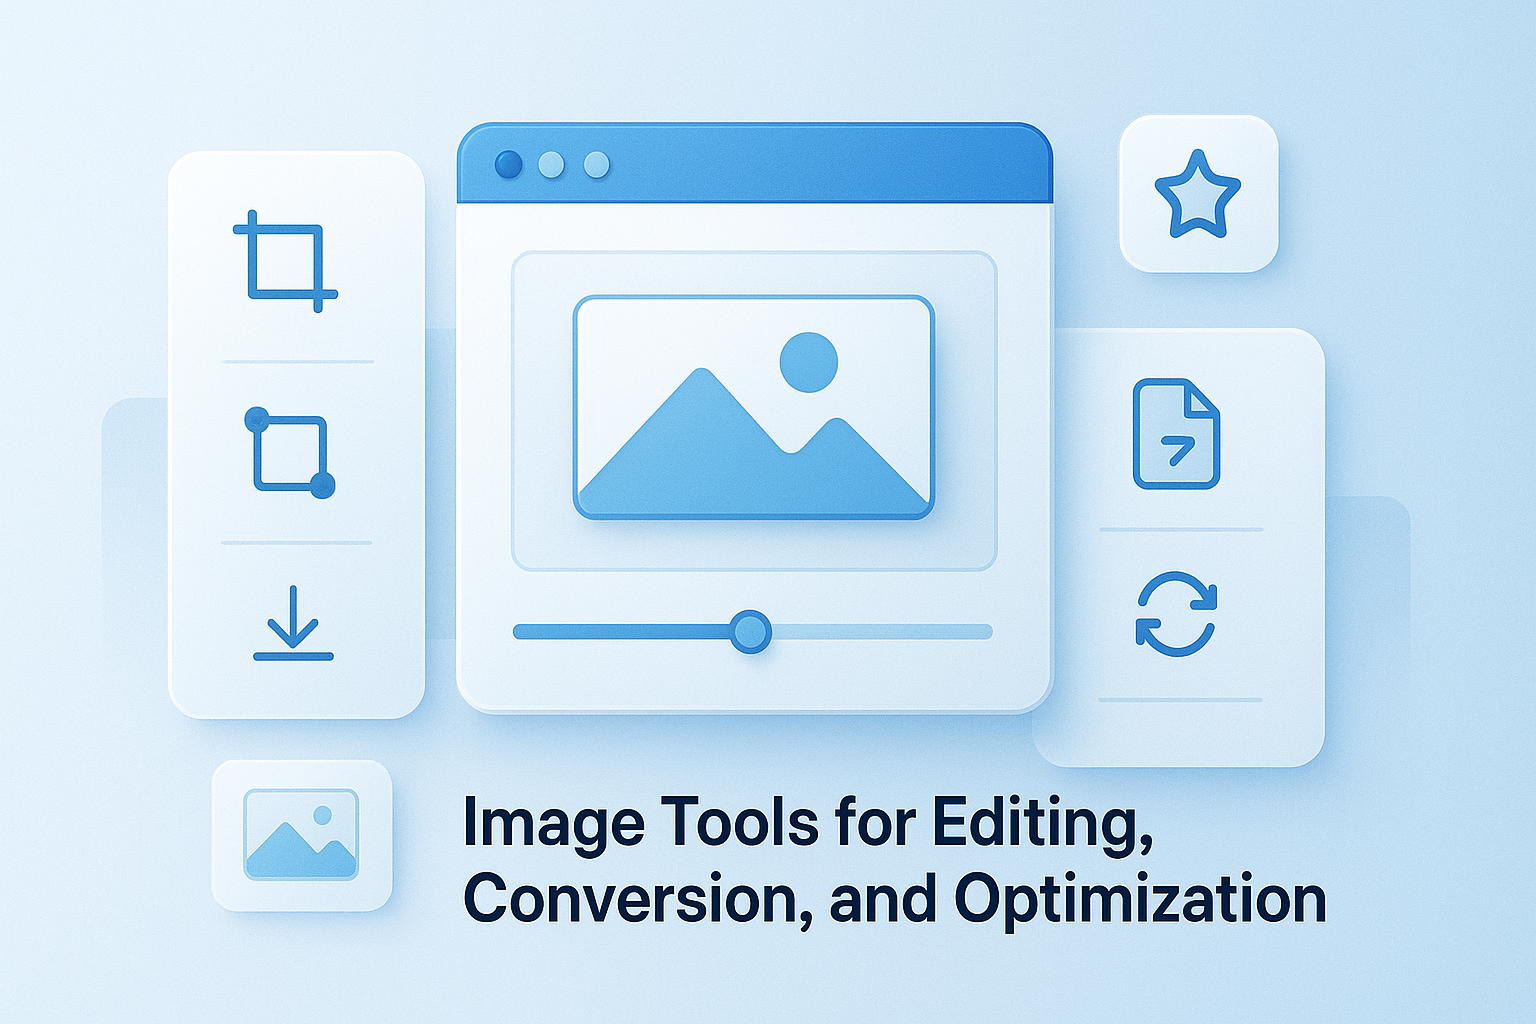
At its core, an online editor helps with tasks like:
- Cropping unwanted areas
- Resizing images for web or social media
- Rotating or flipping pictures
- Adding text or simple graphic elements
- Making basic visual improvements
This type of tool is especially useful when you need a lightweight option for everyday edits. If your final file is too large after editing, a related tool like the Image Compressor can help reduce file size before upload.
For readers who want to understand image sizing better, MDN’s guide to image file types is a reliable reference for common formats and use cases.
Why beginners like browser-based image editing
The biggest advantage is simplicity. A browser-based image editor removes installation, updates, and complicated interfaces. You open the tool, edit your image, and export the file. That’s why it works well for students, bloggers, small business owners, and casual users.
Here’s what makes online editing practical:
- No software download
- Works on most devices with a browser
- Useful for one-off edits
- Easy for non-designers to understand
- Fast for basic image tasks
That convenience matters even more in 2026, when many people create content across multiple devices and need quick edits without switching to complex design apps.
If you regularly prepare visuals for blog posts or website pages, pairing image editing with on-page optimization tools can save time. For example, the Meta Tag Generator helps when you move from visual preparation to page publishing.
Key features to look for in an image editor
A good image editor for beginners should cover the basics well. You do not need dozens of advanced controls if your real goal is to make an image cleaner, smaller, sharper, or easier to share.
1. Crop and resize tools
These are usually the most-used features. Cropping improves framing, while resizing changes dimensions for websites, presentations, online forms, or social platforms.
- Crop to remove distractions
- Resize to match upload requirements
- Keep proportions to avoid distortion
- Use standard dimensions when possible
If you need to confirm dimensions or scaling logic while working with layouts, a utility like the Aspect Ratio Calculator can make resizing decisions much easier.
2. Rotate and flip options
These tools fix image orientation problems quickly. A sideways product photo or mirrored screenshot can make content look unprofessional, even if the rest of the page is polished.
3. Text and annotation tools
Adding labels, titles, arrows, or notes is helpful for tutorials, school work, simple marketing graphics, and screenshots. Beginners often use this feature more than they expect.
For accessibility and image clarity on the web, it also helps to understand how text in visuals should support, not replace, readable page content. W3C’s image accessibility guidance is worth bookmarking if you publish online.
4. Basic adjustments
Some browsers-based editors include quick tweaks for brightness, contrast, saturation, or sharpness. These settings can improve flat-looking images, but they should be used carefully.
- Increase brightness if the image is too dark
- Adjust contrast for clearer subject separation
- Use saturation lightly to avoid unnatural colors
- Preview changes before saving
5. Export and download
Now comes the important part. Editing is only half the job. The final download options matter because they affect quality, file size, and compatibility.
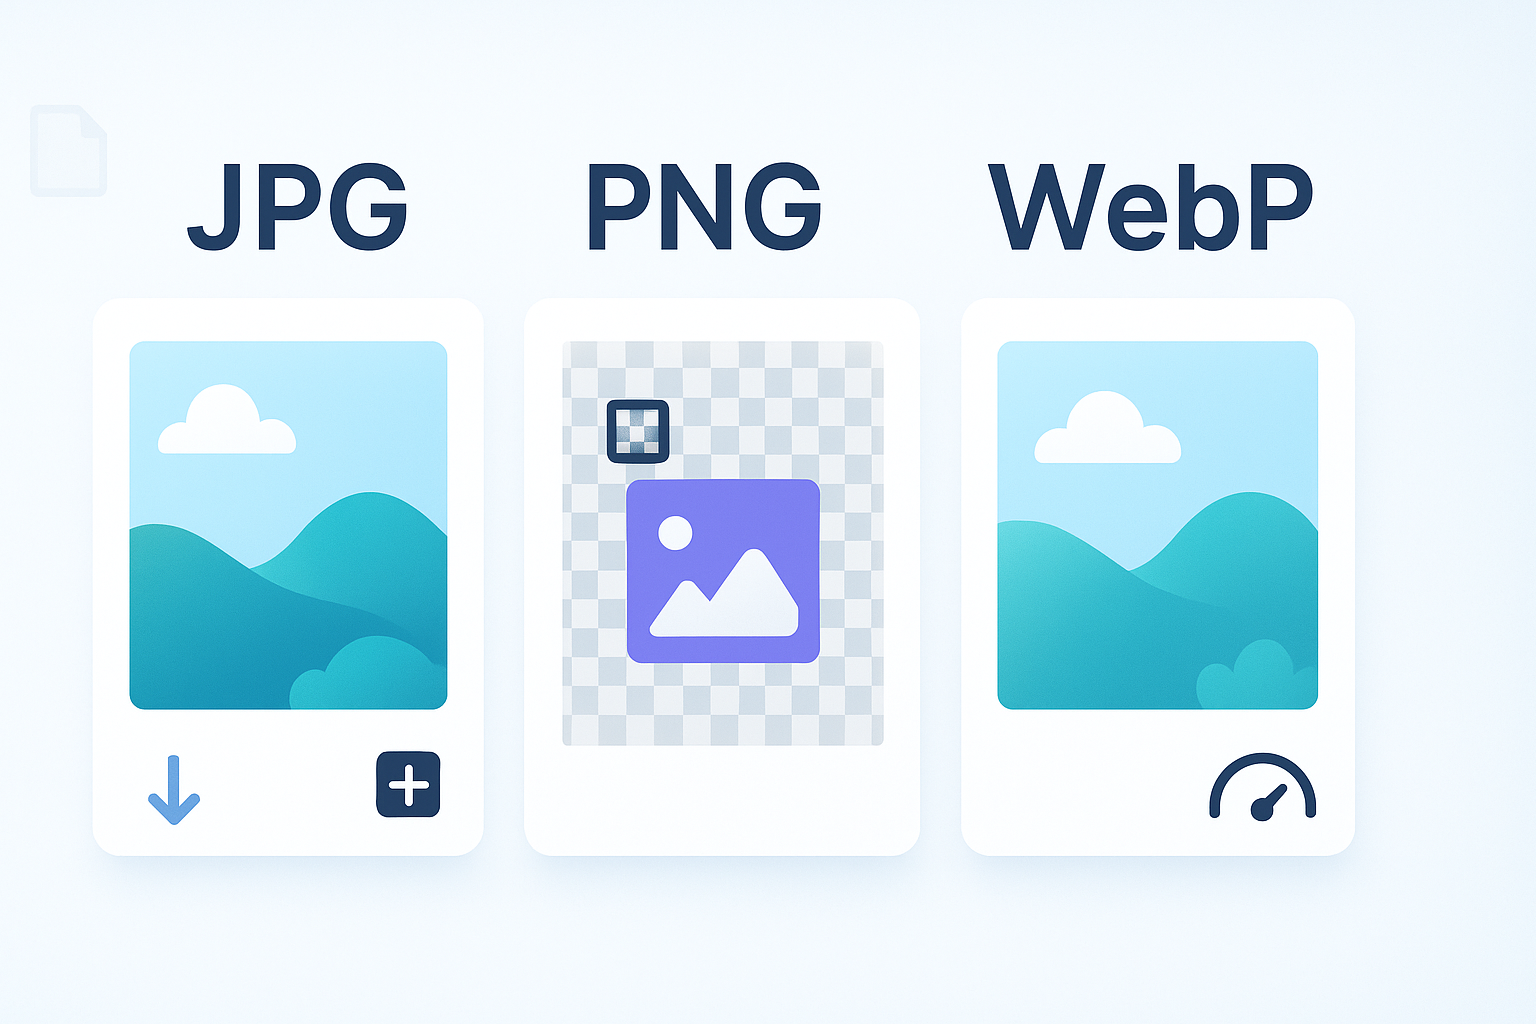
Look for support for common formats such as JPG, PNG, or WebP. If you want to understand why newer formats matter for web performance, Google’s WebP documentation explains the tradeoffs clearly.
How to use Free Toolr Image Editor step by step
Most beginners get better results when they follow a simple order: upload, crop, resize, adjust, review, then export. That sequence reduces mistakes and prevents repeated editing.
- Open the image editor
Start in your browser and load the image you want to change. - Upload your file
Select the image from your phone, tablet, or computer. - Make structural edits first
Crop, rotate, or flip before adjusting appearance. - Resize if needed
Choose the correct dimensions for your destination, such as social media, blog content, or email. - Add text or simple edits
Insert labels, highlight points, or improve visual communication. - Review the preview carefully
Check alignment, quality, readability, and spacing. - Download the final image
Save the version that best fits your purpose.
This is also where many people make a preventable mistake: they edit first and only later think about file size. If the result feels too heavy for a website, use the Image to Base64 tool only when you specifically need encoded image data for development workflows, not for routine publishing.
Suggested Screenshot: Free Toolr image editor workflow showing upload, crop, and export steps
What can you do with an online image editor?
An online image editor is not just for photos. It can help with blog graphics, profile images, school assignments, product pictures, presentation visuals, and documentation screenshots.
| Use case | Typical edit | Why it helps |
|---|---|---|
| Blog post image | Resize and compress | Improves page speed and layout |
| Social media post | Crop to platform ratio | Prevents awkward cutoffs |
| Screenshot tutorial | Add text and arrows | Makes instructions easier to follow |
| Online store product image | Crop and brighten | Creates a cleaner product view |
| Profile or ID-style photo | Resize and center subject | Matches upload guidelines better |
If your work includes page screenshots, code examples, or developer notes, you may also find the JSON Formatter useful when preparing technical documentation with clean visual references.
Online image editor vs desktop software
The right choice depends on complexity. If you only need quick fixes, a browser-based image editor is often enough. If you work on layered design projects, color-managed print assets, or advanced retouching, desktop software usually wins.
| Feature | Online image editor | Desktop editor |
|---|---|---|
| Setup | No installation | Requires download and updates |
| Ease of use | Beginner-friendly | Often more complex |
| Advanced editing | Limited | Much stronger |
| Speed for simple tasks | Very fast | Can feel slower for small edits |
| Device flexibility | Accessible from many devices | Usually tied to installed system |
Here’s the practical rule: choose the simplest tool that can do the job well. Most beginners do not need advanced design software to crop a header image or prepare a profile photo.
Best practices for better image editing results
Small habits make a big difference. Most editing problems come from rushed exports, poor sizing choices, or overusing visual effects. A few simple rules will improve your output immediately.
- Start with the highest quality original you have. Editing a blurry file won’t create true sharpness.
- Crop before fine adjustments. It helps you focus only on the area that matters.
- Keep proportions consistent. Stretched faces and squashed products look unprofessional.
- Use text sparingly. Too much text reduces clarity, especially on mobile screens.
- Export for the final use case. Website images and print images usually need different settings.
- Check file size. Large images can slow page loading.
Google has repeatedly emphasized page experience and performance as part of a strong web presence. For site owners, Google Search Central documentation is still one of the best starting points for understanding why optimized images matter.
If you are preparing graphics for articles, the Word Counter can also help balance visual and written content when structuring a page.
Common mistakes beginners make with an image editor
Most problems are easy to avoid once you know what to watch for. The issue usually isn’t the tool itself. It’s the editing sequence, the export settings, or a mismatch between the image and its final use.
Using the wrong file format
JPG is commonly used for photos. PNG is often better for graphics, transparent backgrounds, or screenshots with crisp text. WebP can be excellent for web use when supported by your workflow.
Over-editing colors
Heavy saturation and contrast often make images look artificial. If the image starts drawing attention to the edit rather than the subject, pull back.
Ignoring final dimensions
An image may look fine in the editor but appear blurry or oversized on a website. Always match your image dimensions to the place where it will be used.
Saving only one version
Experienced professionals often keep:
- An original file
- An edited master version
- A web-ready export
This small detail changes everything when you later need a different crop or file size.
Is Free Toolr Image Editor good for website images?
Yes, for basic website image preparation, an online image editor can be a solid choice. It works best for resizing banners, cropping thumbnails, adjusting screenshots, and creating simple blog visuals without opening full design software.
For better website results, follow this workflow:
- Edit the image for clarity and framing
- Resize it to the exact space you need
- Compress it for faster loading
- Use descriptive filenames
- Add alt text in your website CMS
For technical guidance on responsive images in web pages, MDN’s responsive images guide is an excellent resource.
And if you’re publishing developer-focused tutorials or performance-conscious content, the HTML Minifier can help streamline the page after your visual assets are ready.
Suggested Infographic: Simple workflow for preparing website images: edit, resize, compress, publish
Privacy, safety, and file handling: what beginners should know
Whenever you use an online image editor, think about the sensitivity of the file. For casual photos and non-confidential graphics, browser tools are convenient. For private documents, IDs, medical records, or business-sensitive visuals, extra caution is smart.
- Avoid uploading confidential images unless you trust the platform and understand its policies
- Check whether the tool stores files temporarily or processes them instantly
- Remove hidden personal details before sharing images publicly
- Use secure internet connections when handling important files
If the image contains personal information, redaction matters more than simple cropping. Cropping can fail if hidden data remains elsewhere in the workflow.
For broader consumer guidance on digital privacy and online safety, the FTC consumer advice site is a trustworthy public resource.
Who should use Free Toolr Image Editor?
This kind of image editor is best for people who want practical results fast. It is especially useful when editing is a task, not a profession.
- Beginners learning basic photo and image handling
- Bloggers creating post visuals
- Students preparing assignments or presentations
- Small business owners updating product images
- Freelancers making annotated screenshots
- Website owners optimizing basic media assets
If your work later expands into content production, search optimization, or AI-assisted publishing workflows, tools beyond image editing become helpful too. For instance, the Robots.txt Generator supports technical SEO tasks once your content is ready to publish.
Frequently asked questions
1. Is an online image editor enough for beginners?
Yes, for most beginners an online image editor is more than enough. If your tasks include cropping, resizing, rotating, adding text, or making simple improvements, you likely do not need complicated desktop software. Browser-based editing is easier to learn, faster to access, and less overwhelming. The main limitation appears when you need advanced retouching, layered compositions, or professional print workflows.
2. What is the best image format to save after editing?
The best format depends on the image’s purpose. JPG works well for photographs and smaller file sizes. PNG is better for screenshots, graphics, and images that need transparency. WebP is often a strong choice for websites because it can provide smaller file sizes with good quality. If you’re not sure, start by asking where the image will be used, then save for that specific destination.
3. Will resizing reduce image quality?
Sometimes. Reducing image dimensions usually helps with file size and is often fine for web use. Problems happen when you enlarge a small image too much or repeatedly save edited versions at low quality. To avoid degradation, begin with a high-quality original, make your edits once, and export the final image in the correct dimensions instead of resizing it multiple times.
4. Is it safe to edit images online?
It can be safe for everyday, non-sensitive images, but you should still be careful. Avoid uploading files that contain private personal information, confidential business material, or sensitive records unless you fully trust the service and understand how the files are processed. Read the platform’s policies when privacy matters. For normal blog graphics, profile images, and screenshots, online editing is usually a practical option.
5. What’s the difference between cropping and resizing?
Cropping removes part of the image to improve framing or focus. Resizing changes the image’s dimensions, usually measured in pixels, without necessarily removing content. They solve different problems. Crop when the composition is wrong. Resize when the dimensions do not fit the platform, page layout, or upload requirement. In many cases, the best result comes from cropping first and resizing second.
6. Why does my edited image look blurry on a website?
Blurry website images usually come from one of three issues: the original file was low quality, the image was stretched beyond its intended size, or the export settings were too aggressive. Another common issue is uploading an image with dimensions smaller than the display area. Match the image size to the actual layout, use appropriate compression, and preview the result on desktop and mobile before publishing.
7. Can I use an image editor for social media graphics?
Yes. An image editor is ideal for simple social media tasks like cropping to a platform ratio, adding short text, and resizing files for faster uploads. It is especially useful when you need quick visual updates rather than complex design work. Just make sure you check the current recommended dimensions for the platform you’re using, because social media image specifications can change over time.
8. What should I do after editing an image for a blog post?
After editing, save the image in the right format, reduce file size if needed, give it a descriptive filename, and upload it with useful alt text. Then preview the page to confirm the image looks sharp and fits the layout. If page performance matters, compress the file before publishing. This final review step is often skipped, but it prevents slow-loading pages and awkward visual formatting.
Final thoughts on using Free Toolr Image Editor
If you want a simple image editor for quick online work, Free Toolr’s browser-based approach makes a lot of sense. It lowers the barrier for beginners, handles common tasks efficiently, and fits everyday needs like cropping, resizing, basic annotation, and web-ready exports.
The key is to use it with a clear workflow: start with a good original, make structural edits first, export for the right purpose, and keep file size in mind. That alone will put you ahead of many casual users.
As your workflow grows, the next practical step is to pair image editing with a few related tools. Start with the Image Compressor for smaller files, the Aspect Ratio Calculator for better sizing decisions, the Meta Tag Generator for page publishing, and the Word Counter for cleaner content structure.
For most beginners, that combination covers the full path from editing an image to publishing it well.