Ever upload a photo, logo, or screenshot and then hit the same wall? The file is too large, the format is wrong, the dimensions don’t fit, or the image looks blurry after editing. That’s exactly why image tools matter.
Good image tools help you fix everyday problems fast. You can resize, compress, convert, crop, or optimize images without needing advanced design skills. For beginners, the real challenge isn’t finding a tool. It’s knowing which tool to use and when.
This guide explains the most useful image tools for editing, conversion, and optimization. You’ll learn what each tool does, when to use it, common mistakes to avoid, and how to build a simple workflow that saves time and improves image quality.
What are image tools and why do they matter?
Image tools are software features or web-based utilities that help you change, improve, or prepare image files for a specific use. They matter because the same image rarely works perfectly everywhere. A website banner, product photo, profile picture, and printable graphic all need different dimensions, formats, and file sizes.
At a basic level, image tools usually help with four jobs:
- Editing images, such as cropping, rotating, or adjusting brightness
- Converting file types, such as PNG to JPG or WebP to PNG
- Resizing dimensions for screens, social media, or print
- Optimizing file size for better loading speed and storage efficiency
If your main goal is lighter web images, a dedicated Image Compressor is often the fastest place to start.
Suggested Image: Minimal vector diagram showing edit, convert, resize, and optimize stages
Types of image tools beginners should know
Most beginners don’t need a huge toolkit. They need a few reliable image tools that solve common problems cleanly. The easiest way to understand them is by purpose rather than by brand name.
Editing tools
Editing tools change how an image looks. That includes cropping extra space, rotating orientation, sharpening details, adjusting exposure, and sometimes adding text or overlays. These are useful when an image is visually correctable without changing its basic file type.
Conversion tools
Conversion tools change one image format into another. This is useful when a platform only accepts certain file types, or when you want a better balance between quality and file size. If you need a quick format switch, a free image converter handles the job without requiring design software.
Resizing tools
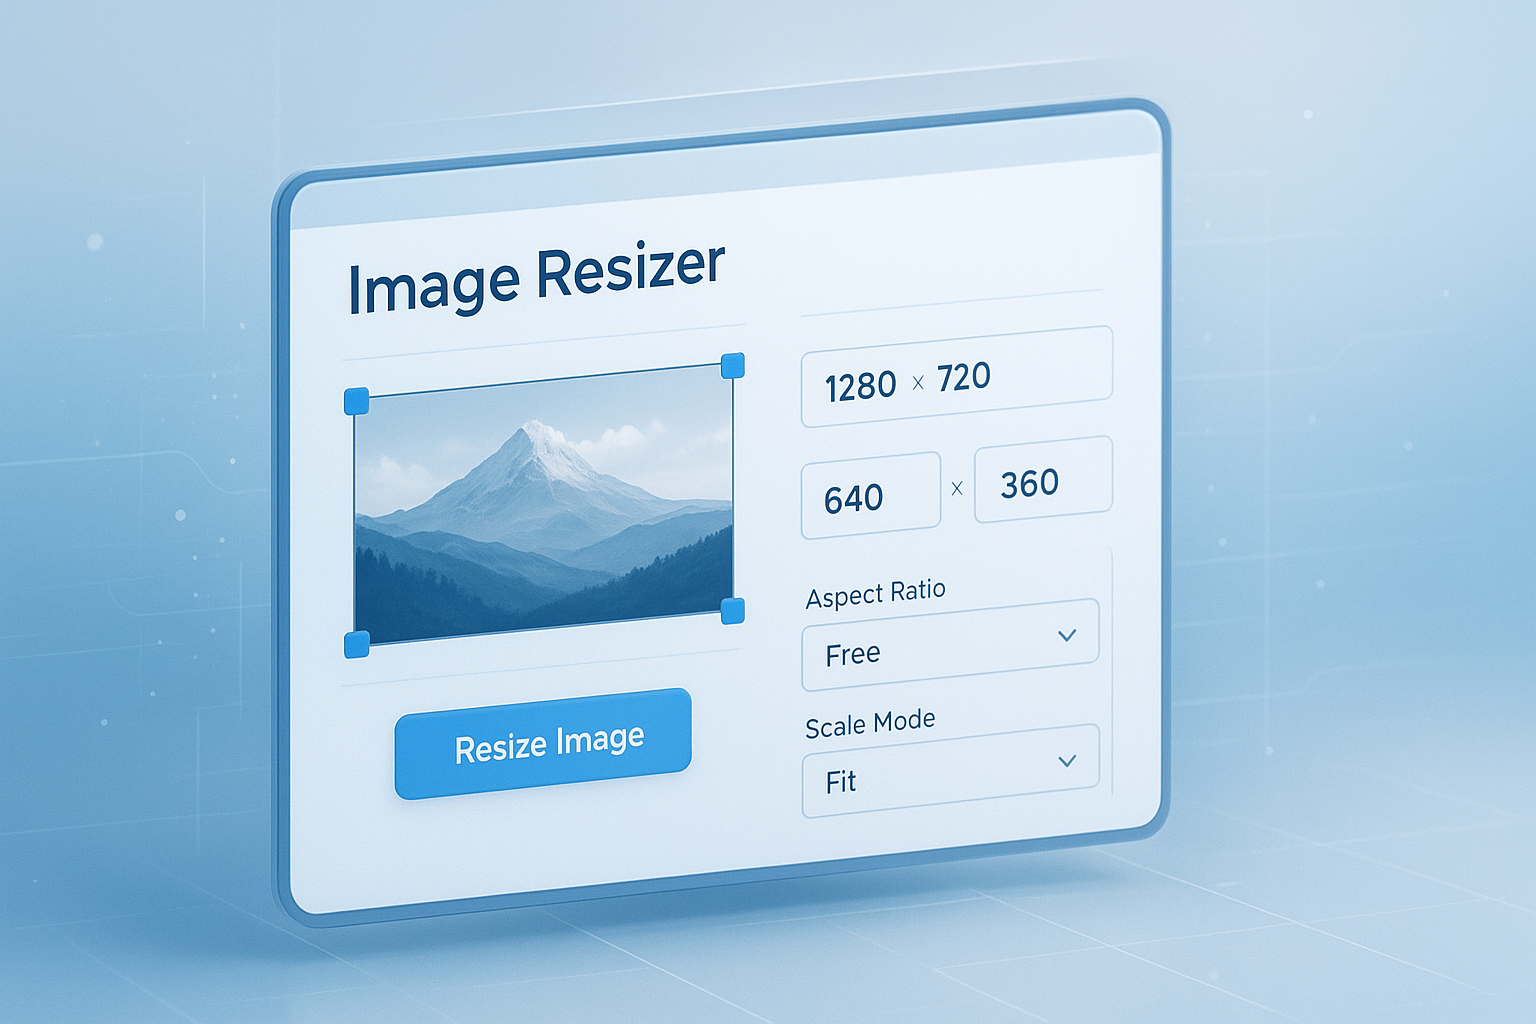
Resizing tools adjust width and height. That sounds simple, but it affects layout, speed, and appearance. A profile image might need a square shape, while a blog header needs a wide format. For dimension changes without unnecessary complexity, an online image resizer is one of the most practical tools for beginners.
Optimization tools
Optimization tools reduce file weight while trying to preserve visual quality. These tools are especially important for websites because large images slow down page speed, affect user experience, and can hurt discoverability. Google’s SEO guidance and Google web performance documentation on images both reinforce the importance of efficient image delivery.
Editing vs conversion vs optimization: what’s the difference?
Here’s where many people get confused. Editing changes the content or appearance of an image. Conversion changes the file format. Optimization reduces size and improves delivery efficiency. One image might need all three, but they are not the same step.
| Task | What it does | Best use case |
|---|---|---|
| Editing | Changes visual appearance or composition | Crop photos, rotate screenshots, improve lighting |
| Conversion | Changes image format | Turn PNG into JPG, or WebP into PNG |
| Optimization | Reduces file size for speed and efficiency | Prepare website images, email attachments, mobile uploads |
A simple rule helps: if the image looks wrong, edit it. If the image won’t upload, convert it. If the image loads slowly, optimize it.
Which image format should you use?
The right format depends on transparency, photography, sharpness, and compatibility. There is no single best format for every case. Beginners save a lot of time once they learn a few simple format rules.
| Format | Best for | Main limitation |
|---|---|---|
| JPG or JPEG | Photos, blog images, product pictures | No transparency, quality can degrade with heavy compression |
| PNG | Logos, graphics, screenshots, transparency | Often larger file sizes |
| WebP | Modern web images with smaller file sizes | Some older workflows still prefer traditional formats |
| SVG | Icons, logos, vector illustrations | Not ideal for standard photographs |
| GIF | Simple animations | Limited color support and poor efficiency for many uses |
For technical reference, MDN’s image format guide is one of the clearest explanations available.
How to choose the right image tools for your goal
The best image tools depend on your actual task, not on what feels most advanced. Beginners often overcomplicate the process by using editing software for formatting problems or using compression when they really need resizing.
Use this quick decision guide:
- If the image is too wide or too tall, resize it
- If the colors or composition look wrong, edit it
- If the upload platform rejects the file type, convert it
- If the image loads slowly on a website, optimize it
- If the image needs to fit a fixed shape, crop it before resizing
For example, website owners often combine a resize step with a JPG to WebP converter to reduce page weight without obvious quality loss.
A beginner-friendly workflow for editing and optimization
The easiest workflow is to follow the same order every time. This prevents quality loss, reduces rework, and helps you avoid uploading oversized files. A consistent process matters more than using lots of separate tools.
- Start with the highest-quality original image you have
- Crop the image to remove unnecessary areas
- Resize it to the final display dimensions
- Convert it to the most suitable format
- Compress or optimize it for speed and storage
- Preview the final image before publishing or sharing
This small detail changes everything: resize before strong compression whenever possible. Compressing a huge image first often produces a bigger file than necessary and can make later edits less flexible.
If you’re working with screenshots for tutorials or support docs, a PNG to JPG converter can help reduce file size when transparency isn’t needed.
Best image tools for common real-world tasks
Most image decisions are simpler when tied to a real job. Let’s look at everyday use cases beginners run into and the type of image tools that make the most sense.
For blog posts and websites
Use resize and optimization tools first. Website images should look sharp but load fast. If you’re publishing online content, check image dimensions, compress files, and consider newer formats where supported. PageSpeed Insights can help identify image-related performance issues.
For e-commerce product photos
Use editing tools for brightness, cropping, and consistent framing. Then optimize carefully. Product images need to stay clean and detailed, especially when users zoom in. Too much compression can hurt trust and conversion.
For social media
Use resizing and cropping tools. Each platform prefers different dimensions. A square post, vertical story, and horizontal cover image all need different framing. This is one of the most common reasons people use image tools every week.
For logos and icons
Use PNG or SVG when transparency or clean edges matter. If the original is already a vector, keep it that way when possible. If you need a simpler bitmap alternative for sharing, a WebP to PNG converter can be useful in compatibility-heavy workflows.
For documents and PDFs
Sometimes the image isn’t the end product. It’s part of a file you intend to share or print. In those cases, image cleanup before export makes the final document easier to handle. If your images are headed into a report or download file, the broader PDF tools collection can help with the next step.
Suggested Screenshot: Before-and-after example of resized and compressed blog image
Image optimization for SEO and web performance
Image optimization is one of the most practical SEO improvements beginners can make. Large image files slow page loading, increase bandwidth use, and create a worse experience on mobile devices. Better image performance supports better usability, and usability often supports better search visibility.
Here’s what experienced professionals do differently:
- Upload images at the size they’ll actually be displayed
- Choose the right format instead of using PNG for everything
- Compress images without crushing visible quality
- Use descriptive file names
- Add useful alt text when the image carries meaning
- Avoid decorative oversized hero images unless necessary
For accessibility guidance on text alternatives, W3C’s image accessibility tutorial is the standard reference.
If you also create content around visuals and metadata, an SEO tools collection can help you tighten the rest of your on-page workflow.
Common mistakes people make with image tools
Most image problems come from a few repeat mistakes. The tools are rarely the real issue. The problem is using the wrong action at the wrong stage.
- Compressing before deciding final dimensions
- Using PNG for every single image, including large photos
- Upscaling tiny images and expecting sharp results
- Saving the same image repeatedly in lossy formats
- Ignoring transparency needs during format conversion
- Uploading raw phone photos directly to websites
- Choosing visual quality settings without checking final file size
The biggest beginner mistake is trying to “fix” a poor source file with lots of processing. If the original image is low quality, image tools can only improve it so much.
How much should you compress an image?
The answer depends on one thing: where the image will be used. A homepage banner, email attachment, online marketplace listing, and print graphic all have different thresholds for file size and quality. There is no universal percentage that works every time.
| Use case | Compression approach | Priority |
|---|---|---|
| Blog images | Moderate to strong compression after resizing | Page speed |
| Product photos | Moderate compression with careful previewing | Detail retention |
| Social media posts | Moderate compression and platform-sized dimensions | Fast upload and good appearance |
| Print materials | Light compression or none if high resolution is required | Maximum quality |
Always preview after compression. Text edges, skin tones, shadows, and gradients often reveal quality loss first.
What makes a good image tool for beginners?
A good beginner tool should solve one problem clearly, without clutter or too many technical decisions. The best image tools are not always the most feature-rich. They’re the ones that make the right action obvious.
Look for these qualities:
- Simple upload and export process
- Clear format and size options
- Fast performance in the browser
- Visible preview before download
- No confusing jargon for basic tasks
- Reliable output quality
- Safe handling of common file types
If you regularly work with dimensions and layout spacing while preparing images, even support tools like a unit converter can help when switching between pixels, inches, or other measurement contexts.
Frequently asked questions about image tools
1. What are the most useful image tools for beginners?
Beginners usually benefit most from four image tools: a crop or resize tool, a format converter, a compressor, and a simple editor for brightness or rotation. These cover most daily tasks without requiring professional software. If you publish online, start with resizing and compression first because those directly affect usability, upload speed, and website performance.
2. Is JPG better than PNG?
Neither format is better in every situation. JPG is usually better for photographs because it keeps file sizes smaller. PNG is better for graphics, logos, screenshots, and images that need transparent backgrounds. If you choose the wrong format, your image may either look worse than necessary or be much larger than needed.
3. Do image tools reduce quality?
Some do, some don’t. Cropping and rotating typically don’t reduce visible quality in a major way. Lossy compression and repeated format conversion can reduce quality, especially with text-heavy or detailed images. The best way to protect appearance is to keep the original file, make changes in the right order, and preview the result before publishing.
4. What image format is best for websites in 2026?
For many websites, WebP is a strong choice because it can provide smaller files with good quality. JPG still works well for photos, and PNG remains useful for transparency. The best format depends on the image type, browser support needs, and your publishing system. Many site owners now use a mix rather than one format for everything.
5. How do I make an image smaller without making it blurry?
Start by resizing the image to the exact display dimensions you need. Then compress it gradually instead of aggressively. Blurriness often comes from excessive compression or from enlarging a small image beyond its original resolution. Photos, text screenshots, and logos each react differently, so always preview the final file at actual display size.
6. Are online image tools safe to use?
They can be safe, but caution matters. Avoid uploading sensitive personal documents, private screenshots, or confidential brand assets to any tool you don’t trust. Read privacy information when available, use reputable platforms, and keep local backups of original files. For basic public-use images, online tools are often convenient, but sensitive content deserves extra care.
7. Should I resize or compress first?
In most cases, resize first and compress second. Resizing removes unnecessary pixel data, so the compression step has less work to do. That usually produces smaller, cleaner results. If you compress a very large image first, you may still end up with a needlessly heavy file after resizing, and quality decisions become harder to judge.
8. Can one tool do editing, conversion, and optimization together?
Yes, some tools can handle multiple tasks in a single workflow. Still, separate tools are often easier for beginners because each one focuses on a clear outcome. If you’re only trying to solve one problem, a dedicated resizer, converter, or compressor is usually faster and less confusing than an all-in-one editor.
Final thoughts
The best image tools are the ones that help you make the right change at the right time. For beginners, that usually means keeping the process simple: edit when the image looks wrong, convert when the format is wrong, resize when the dimensions are wrong, and optimize when the file is too heavy.
If you want a practical next step, start with one real image you already use. Resize it, convert it if needed, then compress it and compare the result. From there, you can build a better workflow using an online image resizer, Image Compressor, free image converter, and the broader image tools collection.