Have you ever posted a photo online and later found it shared somewhere else with no credit attached? That’s usually the moment people realize they should have added a watermark first.
If you want to add image watermark protection without learning design software, the good news is that it’s much easier than most beginners expect. A simple watermark can help protect your work, strengthen your brand, and make your images harder to reuse without permission.
In this guide, you’ll learn what an image watermark is, when to use it, how to place it properly, and how to avoid the mistakes that make watermarks look messy or ineffective. You’ll also see practical tips for creating cleaner visuals before and after editing.
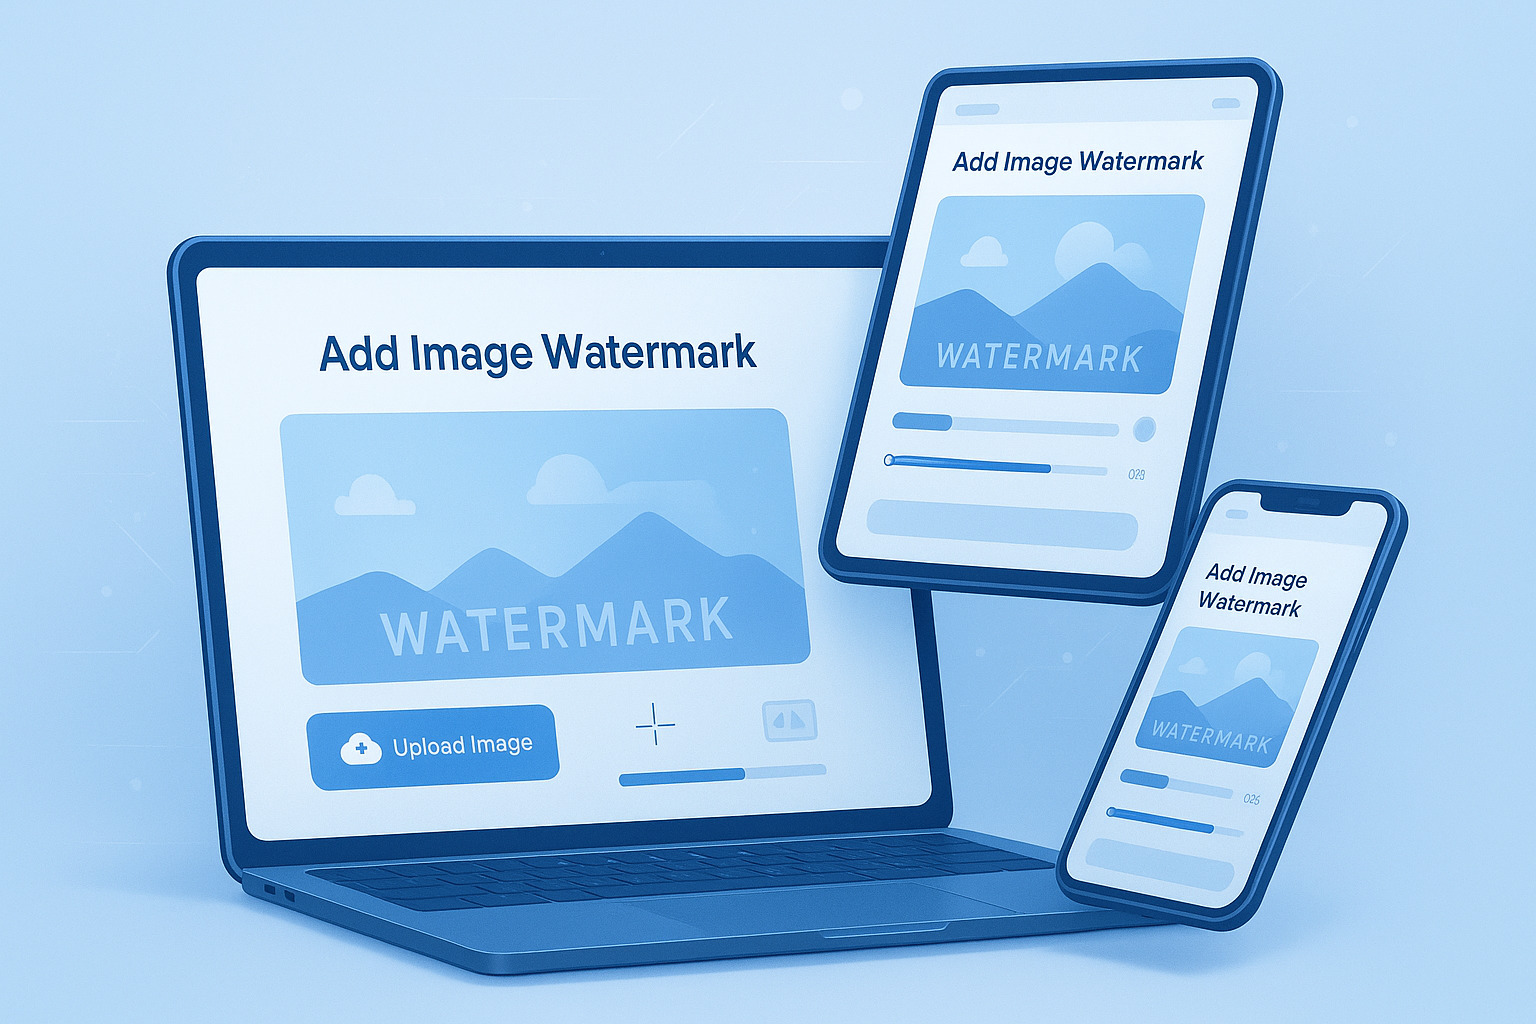
Suggested Image: Modern illustration of a photo with a visible logo watermark placed in the corner
What does it mean to add image watermark?
To add image watermark means placing visible text, a logo, or a graphic overlay on top of a photo or design. The goal is usually to show ownership, promote a brand, or discourage unauthorized use while keeping the original image still recognizable.
A watermark can be simple or branded. Common examples include:
- Your name or business name
- A logo
- A website URL
- A copyright notice
- A repeated transparent pattern across the image
For people who publish images regularly, watermarking is one part of a wider image workflow. If your photo file is too large before uploading, a quick pass through an Image Compressor can make sharing faster without changing the purpose of the watermark.
Why people watermark images in the first place
Most people don’t add watermarks for decoration. They do it because images move fast online, and once a file is shared, copied, downloaded, or reposted, tracing ownership becomes much harder.
Here’s why watermarking matters:
- Protects authorship: It makes ownership more visible.
- Supports branding: Your logo or name stays attached to the image.
- Discourages casual theft: Many people avoid reusing visibly marked images.
- Improves recognition: Repeated branded visuals can help people remember your business.
- Adds professionalism: For portfolios, previews, and client proofs, a watermark can signal that the file is not meant for unrestricted public use.
This is especially useful for photographers, creators, bloggers, e-commerce sellers, and educators sharing original graphics online.
If you’re creating graphics from scratch, keeping image dimensions consistent also helps. A tool like the Image Resizer can help prepare photos before applying a watermark so placement looks balanced across all versions.
When should you add a watermark and when should you skip it?
The answer depends on how the image will be used. Watermarks are helpful in many situations, but they are not always the best choice, especially when image clarity matters more than ownership visibility.
| Use a Watermark | Skip or Minimize It |
|---|---|
| Portfolio previews | Final client delivery files |
| Product photo samples | Images where details must stay unobstructed |
| Photography shared on social media | Private internal documents |
| Drafts, proofs, and previews | Clean brand assets intended for licensed use |
| Stock image previews | Accessibility-sensitive visuals where overlays create confusion |
Here’s the important part. A watermark is not a complete legal shield. It may discourage misuse, but it does not replace copyright ownership, licensing terms, or documentation. For general copyright basics, the U.S. Copyright Office FAQ is a useful starting point.
What types of image watermarks work best?
The best watermark is one that is clear enough to signal ownership but subtle enough that it does not ruin the image. Beginners often go too strong. Experienced creators usually aim for balance.
Text watermark
This is the simplest option. You add a name, brand name, copyright label, or URL. It works well for bloggers, educators, and small business owners.
Logo watermark
A logo watermark is ideal for branding. It’s often used by photographers, agencies, and e-commerce stores because it reinforces brand recognition while keeping the image consistent.
Transparent corner watermark
This style places a small low-opacity watermark in one corner. It’s less distracting and popular for social posts, website images, and portfolio work.
Centered watermark
If you want stronger protection, placing the watermark near the middle makes it harder to crop out. This is common for previews and proof images.
Repeated pattern watermark
This uses multiple light marks across the full image. It offers stronger deterrence but can interfere with visual presentation, so it’s best for samples rather than polished public imagery.
If your logo file has a solid background that looks awkward over photos, you may want to prepare it first with a background remover tool so the watermark blends more naturally.
How to add image watermark online step by step
If you’re a beginner, the easiest method is to use an online watermark tool. You upload your photo, add text or a logo, adjust placement and transparency, then download the finished image.
- Choose the image you want to protect. Start with the version you plan to publish.
- Upload your photo to the watermark tool. Make sure the file is clear and properly sized.
- Select your watermark type. Choose text, logo, or both.
- Customize the design. Adjust font, size, color, opacity, and rotation.
- Position the watermark. Place it in a corner, along an edge, or near the center depending on your goal.
- Preview the result. Check whether the image is still easy to see and whether the branding looks clean.
- Download the final file. Save it in a suitable format for web, social media, or sharing.
That’s the basic process. If you also want to preserve accurate pixel information for web work, MDN’s responsive image guidance is useful when preparing branded images for websites.
Suggested Screenshot: Watermark tool interface showing image upload, text settings, opacity control, and placement options
Where should you place a watermark on an image?
Placement affects both protection and appearance. A small corner mark looks cleaner, but it is easier to crop out. A central watermark offers better protection, but it can distract from the image itself.
Here’s how to think about placement:
- Bottom-right corner: Common, clean, and familiar. Good for branding. Easier to remove by cropping.
- Bottom-left corner: Useful when the right side is visually busy.
- Top corners: Can work for product images or landscape photos, though some compositions make these areas more distracting.
- Center: Better for proofing, previews, and anti-theft use.
- Diagonal across image: Stronger deterrent, but less attractive.
Now comes the important part. You should place the watermark where cropping it out would damage the image composition. That single decision often makes the watermark much more effective.
How large and transparent should a watermark be?
For most images, the best watermark is visible at a glance but not dominant. If viewers notice the watermark before the image, it’s probably too large, too dark, or too opaque.
A practical beginner rule:
- Use small to medium size for social media posts
- Use medium size for portfolios and blog visuals
- Use low to medium opacity when appearance matters
- Use higher opacity for proof images or samples
| Goal | Suggested Watermark Style |
|---|---|
| Branding photos on social media | Small logo in corner, low opacity |
| Protecting drafts or proofs | Larger text across center, medium opacity |
| Product previews | Medium logo near key area, readable but not intrusive |
| Portfolio display | Subtle name or logo, carefully placed with clean spacing |
If you need to refine the visual hierarchy first, adjusting overall image dimensions with an Aspect Ratio Calculator can help you create consistent placement across image sets.
Best practices that make a watermark look professional
A good watermark should feel intentional. It should fit the image instead of looking like an afterthought pasted on top. This is where many people struggle.
- Use a clean font: Sans-serif fonts often work best for modern images.
- Keep branding consistent: Use the same logo version, spacing, and style on all images.
- Match contrast carefully: Light watermark on dark areas, dark watermark on light areas.
- Choose transparency wisely: Too low and it disappears. Too high and it ruins the image.
- Leave breathing room: Don’t stick the watermark too close to the edge.
- Test on mobile: What looks subtle on desktop may vanish on a phone screen.
- Export thoughtfully: A blurry watermark weakens both branding and readability.
For website images, performance matters too. Google emphasizes page experience and efficient media handling in its broader documentation, and good image preparation supports that. See Google Search Central’s SEO starter guide for search-friendly content basics.
Common mistakes to avoid when you add image watermark
Most watermark problems are not technical. They come from poor design choices. A watermark should protect the image without making it look cluttered, amateur, or difficult to view.
- Making it too large: Oversized watermarks distract from the actual content.
- Using full opacity: Strong opaque overlays can ruin a professional photo.
- Placing it in an easy-to-crop corner every time: Predictable placement weakens protection.
- Using low-resolution logos: Pixelated watermarks make the whole image look poor.
- Ignoring file size: Large downloads can slow websites and frustrate visitors.
- Using hard-to-read text: Thin scripts or tiny font sizes often fail on mobile.
- Watermarking every image the same way: Different images need different placements.
If your final images become unnecessarily heavy after editing, you can optimize them later with an JPG to WebP Converter to improve loading speed while keeping your watermark visible.
Text watermark vs logo watermark: which one should you use?
Both options work, but they solve slightly different problems. Text is easier for beginners. Logos look more polished when you already have a clear brand identity.
| Watermark Type | Best For | Main Advantage | Possible Drawback |
|---|---|---|---|
| Text watermark | Beginners, bloggers, educators | Fast to create and easy to read | Can look plain if styled poorly |
| Logo watermark | Brands, photographers, stores | Stronger brand recognition | Needs a clean transparent logo file |
| Text + logo | Professional portfolios and business use | Combines branding and identity clarity | Can become cluttered if too detailed |
If you’re still building your visual identity, organizing brand colors and contrast first can make the watermark look more deliberate once applied.
Does a watermark fully protect your photos?
No. A watermark helps, but it does not guarantee complete protection. A determined person can still crop, edit, or attempt to remove it. That’s why watermarking should be treated as a deterrent, not a perfect defense.
Here’s what a watermark can and cannot do:
- Can do: signal ownership, discourage casual copying, support branding, label previews
- Cannot do: replace legal registration, stop all theft, enforce licenses by itself
For broader platform and licensing awareness, creators should also review copyright and content rights documentation relevant to their country. If you publish images on the web, image metadata and file structure may matter too. For technical background, the W3C graphics resources provide useful standards-related context.
Helpful workflow before and after watermarking
The watermark is only one step. A cleaner workflow gives you better results and saves time, especially if you publish images regularly across a blog, store, or social channels.
- Choose the final image version
- Crop or resize it correctly
- Clean the background if needed
- Add your watermark
- Compress the file for web performance
- Convert to a suitable format if necessary
- Store the original unwatermarked file safely
For images that include text-heavy overlays, previewing readability matters. If you later repurpose the same graphic for documents or downloadable guides, the Image to PDF Converter can help package visuals into a shareable format.
Suggested Infographic: Simple image workflow from upload to resize, watermark, compression, and final export
Practical examples for beginners
Sometimes the easiest way to understand watermarking is to see when different styles make sense. Let’s break this down with a few real-world scenarios.
Photographer sharing previews
Use a semi-transparent centered logo or name. The goal is to prevent casual reuse while still letting the client review the image.
Small business posting product photos
Use a small logo watermark near the lower corner or near empty negative space. Keep it visible but not distracting from the item.
Blogger publishing original graphics
Use a simple text watermark with your site name or brand name. This keeps attribution attached as the image gets shared on social platforms.
Teacher or course creator sharing worksheets online
Use a light but readable text watermark, especially on preview images. If your content includes screenshots or diagrams, proper sizing with a Pixel to REM Converter may also help when adapting design elements for web interfaces.
Frequently asked questions
1. What is the best way to add image watermark for beginners?
The easiest method is to use an online tool that lets you upload a photo, add text or a logo, adjust transparency, and download the final result. Beginners should start with a simple text watermark or a small transparent logo. Keep it readable, avoid oversized overlays, and always preview the image on both desktop and mobile before saving.
2. Should I use a text watermark or a logo watermark?
If you want speed and simplicity, use text. It’s great for bloggers, teachers, and first-time creators. If you already have a recognizable brand, a logo watermark usually looks more professional. Many people end up using both, but the design should stay clean. The best choice depends on whether your top priority is readability, branding, or stronger visual identity.
3. Can people remove a watermark from an image?
Yes, sometimes they can. That’s why watermarks are considered a deterrent rather than complete protection. A corner watermark may be cropped, and some editing tools can reduce visible overlays. Stronger placement, thoughtful transparency, and adding the mark in a harder-to-crop area can help. Still, watermarking should be combined with good file management, licensing clarity, and saved originals.
4. Will a watermark ruin image quality?
A watermark does not have to ruin quality if it is applied correctly. Problems usually happen when the mark is too large, uses poor contrast, or is exported at low resolution. A clean watermark should sit naturally on the image. The photo should stay easy to understand, and your branding should remain sharp. Always review the exported version before publishing it publicly.
5. Where is the safest place to put a watermark?
There is no single perfect spot, but placing it where cropping would damage the composition makes removal harder. The center offers stronger protection, especially for proofs and previews. Corners look cleaner, but they are easier to crop out. For most public images, creators choose a compromise: near a key area of the image, but not so strongly placed that it distracts viewers.
6. Is watermarking enough to prove copyright ownership?
No. A watermark can suggest ownership, but it is not the same as formal legal proof or copyright registration. It helps show authorship and branding, but ownership questions may depend on original files, publication records, contracts, and local copyright law. If legal protection matters, review official copyright guidance and keep original source files, timestamps, and licensing records organized.
7. What file format should I use after adding a watermark?
That depends on how you plan to use the image. JPG works well for many photos online. PNG can be useful when you need cleaner graphic edges or transparency before watermarking. WebP is often a strong choice for websites because it supports good compression and modern web performance. The right format balances image quality, loading speed, and compatibility with your platform.
8. Should every image on my website have a watermark?
Not always. Watermarking every image can make a site look busy, especially if the visuals are already part of your branded layout. Use watermarks selectively for original photography, previews, downloadable samples, or easily copied product visuals. For navigation icons, decorative graphics, or licensed assets, a watermark may create more visual noise than value. Focus on images where visible ownership actually matters.
Final thoughts
If you want to add image watermark protection quickly, focus on three things: clear ownership, clean design, and smart placement. A good watermark should support your image, not overpower it. For beginners, a small text mark or transparent logo is usually the best place to start.
Watermarking works best as part of a simple workflow. Resize the image properly, clean up the logo if needed, add the watermark, then optimize the file for sharing. That approach gives you better-looking results and makes your content easier to publish across websites and social platforms.
As a next step, you may also find these tools useful: Image Compressor, background remover tool, Image Resizer, and Image to PDF Converter. Together, they can help you build a cleaner image workflow from preparation to final export.