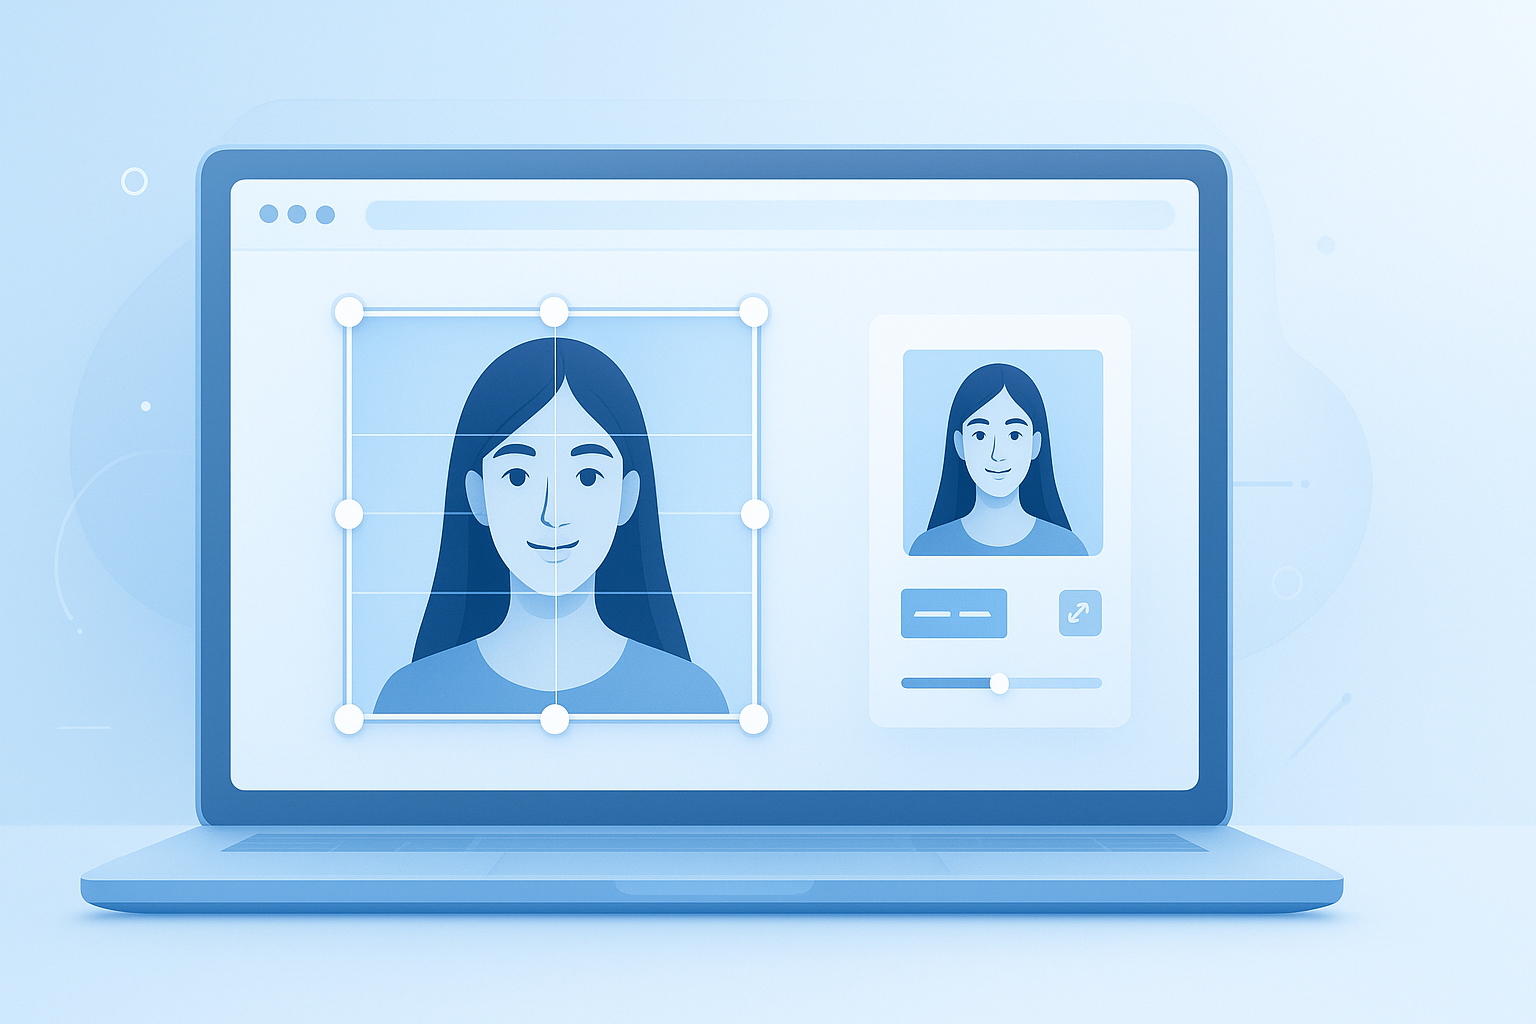
Ever cropped a photo, hit save, and then realized the subject’s head is too close to the top, the image looks blurry, or the size no longer fits where you need it? That’s the problem a good image cropper tool solves in seconds.
Whether you’re updating a profile picture, preparing product photos, trimming screenshots, or formatting images for a blog, cropping is one of the fastest ways to improve how an image looks. It removes distractions, fixes framing, and helps your visuals fit the exact size a platform expects.
This guide shows you how to use an image cropper tool the right way, what to look for before saving, which mistakes to avoid, and how to prepare images for websites, social media, and everyday use in 2026. If you’re a beginner, you’re in the right place.
Suggested Image: Modern illustration of a photo being cropped into multiple social media formats
What is an image cropper tool?
An image cropper tool is a simple editing tool that lets you remove unwanted outer areas of a photo while keeping the part you want. It helps you improve composition, change aspect ratio, and create image sizes that work better for websites, apps, profiles, and posts.
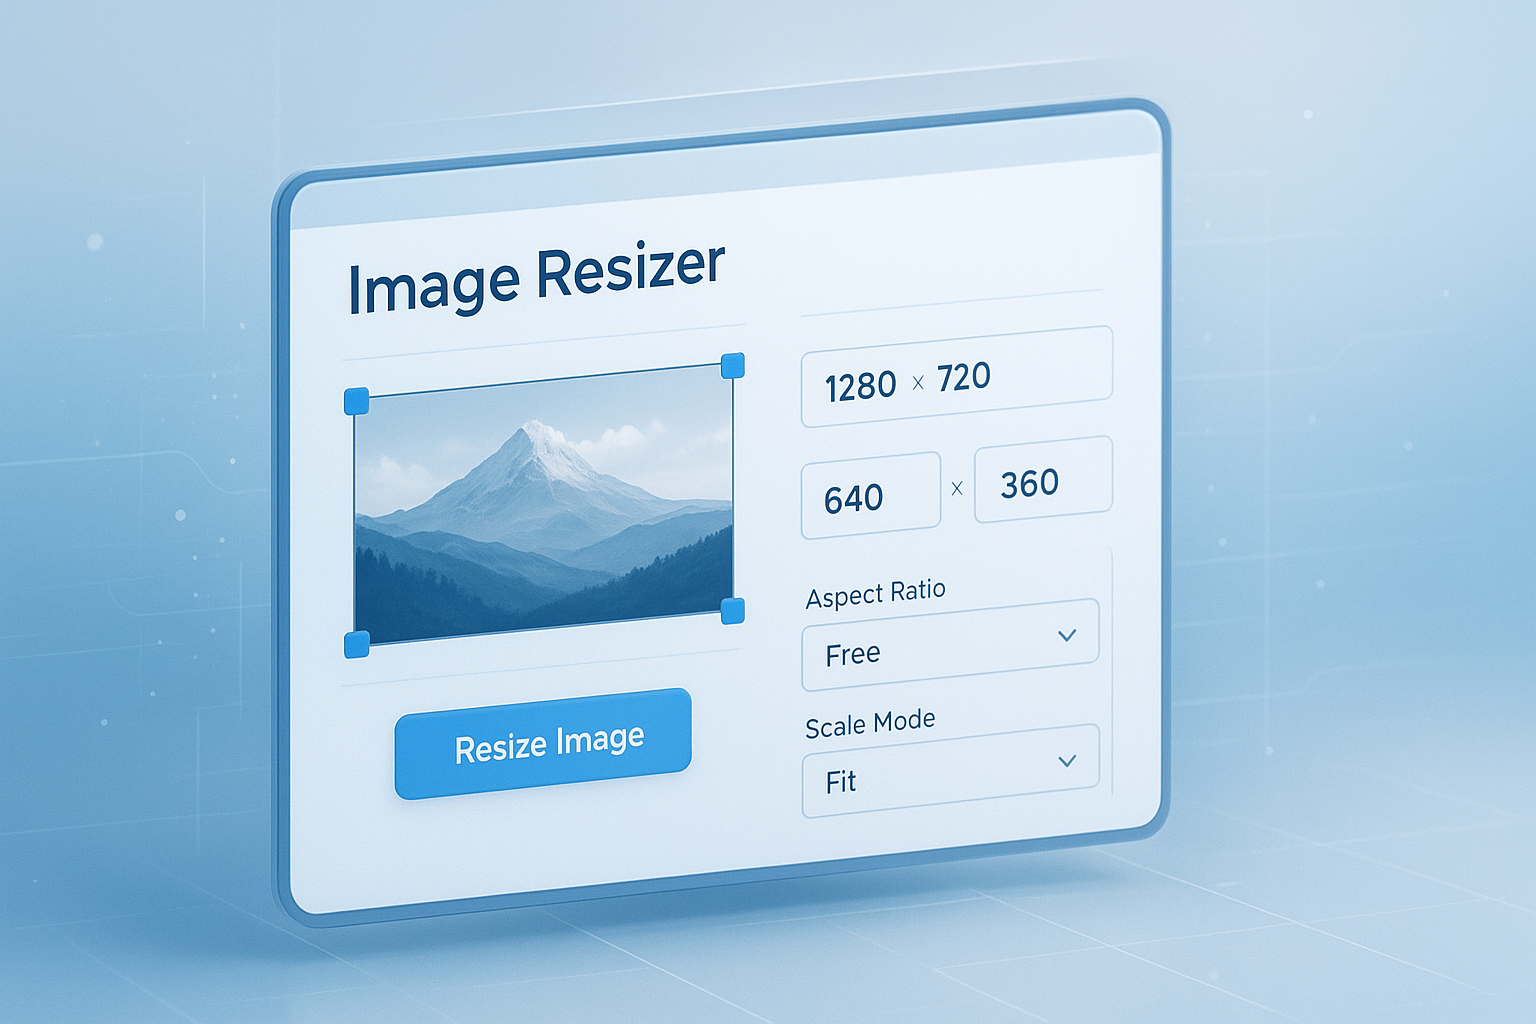
Cropping is different from resizing. Cropping cuts part of the image away. Resizing changes the overall dimensions of the entire image. In real use, people often need both. For example, you might crop a portrait into a square first, then compress it with an Image Compressor so it loads faster online.
- Crop: removes outer parts of an image
- Resize: changes width and height
- Compress: reduces file size
- Convert: changes file format such as PNG to JPG
That small difference matters. It affects image quality, loading speed, layout, and how professional the result looks.
Why people use an image cropper tool
Most people use an image cropper tool because the original photo doesn’t fit the place where it will be used. The goal is usually practical: make the image cleaner, more focused, and easier to use without opening complex editing software.
Here are the most common reasons:
- Remove distracting backgrounds or empty space
- Center a person, object, or product
- Prepare profile photos for square or round display areas
- Fit banner, thumbnail, or post dimensions
- Create consistent image sizes across a website
- Improve visual balance before sharing online
For web publishing, image preparation also affects performance. Google recommends optimizing images for speed and usability, which you can explore in Google Search Central documentation. A tightly cropped image often needs less space and communicates the message faster.
How to crop photos online fast and free
If you’re using an online image cropper tool, the process is usually quick: upload the image, choose the crop area, apply changes, and download the edited file. The key is knowing what to adjust before you save.
- Upload your image from your device.
- Select the crop frame.
- Drag the frame to keep the important subject inside.
- Choose a shape or aspect ratio if needed.
- Preview the result carefully.
- Apply the crop.
- Download the finished image.
That sounds simple, but here’s what experienced users do differently. They check the final use first. A website hero image, a LinkedIn headshot, an online store product photo, and an Instagram post all need different proportions.
Before you click crop, check these 4 things
- Subject placement: Make sure the most important part is centered well or intentionally offset.
- Aspect ratio: Match the platform’s shape requirements.
- Edge spacing: Don’t crop too tight around faces or products.
- Quality: Avoid cropping so much that the remaining image becomes too small.
If you also need pixel-based width and height adjustments, a related Image Resizer can help after cropping.
Best aspect ratios for common image types
The best crop shape depends on where the image will appear. Aspect ratio is the relationship between width and height. Choosing the right ratio early prevents awkward cuts, stretched layouts, or black bars.
| Use Case | Common Aspect Ratio | Why It Works |
|---|---|---|
| Profile photo | 1:1 | Square crops display well across most platforms |
| Blog featured image | 16:9 | Fits wide content areas and thumbnails |
| Instagram portrait | 4:5 | Takes up more vertical screen space |
| YouTube thumbnail | 16:9 | Standard video thumbnail proportion |
| Product image | 1:1 or 4:5 | Creates consistent product grids |
| Story or vertical ad | 9:16 | Optimized for full-screen mobile viewing |
If you’re unsure how dimensions translate into exact sizes, a quick Aspect Ratio Calculator can help you maintain correct proportions without guessing.
Crop vs resize vs compress: what should you use?
This is where many beginners get stuck. They know the image “needs editing,” but aren’t sure which tool solves the actual problem. A crop fixes framing. A resize fixes dimensions. A compressor reduces file size for faster uploads and better site speed.
| Task | Best Tool | Example |
|---|---|---|
| Remove unwanted outer areas | Image cropper | Cut out extra background around a face |
| Change overall image dimensions | Resizer | Turn a 3000px image into 1200px wide |
| Reduce upload size | Compressor | Shrink a photo from 4MB to 500KB |
| Change file format | Converter | Convert PNG to JPG for better compatibility |
In many cases, the best workflow is crop first, resize second, compress last. If you need to change file type too, a Image Converter can be useful after the crop is complete.
How to crop images for websites without hurting quality
For websites, cropping is not just about looks. It also affects page layout, load speed, and user experience. The best result is an image that fits the design cleanly and still loads quickly on mobile and desktop.
Here’s a practical workflow for web images:
- Decide where the image will appear on the page.
- Choose the correct aspect ratio for that space.
- Crop to emphasize the subject.
- Resize to the display dimensions you actually need.
- Compress the final file for faster loading.
- Name the file clearly before uploading.
Google has long emphasized image optimization as part of good page experience, and file choices matter too. For format guidance, see MDN’s image format documentation. If you regularly publish visuals, pairing cropping with a WebP to PNG tool or other format utilities can save time.
Simple quality tips
- Start with the highest-quality original you have
- Don’t crop too aggressively unless the image resolution is large
- Avoid repeated editing and saving of the same file
- Use JPG for most photos and PNG when transparency is needed
- Preview the cropped image on both desktop and mobile
The standards behind image behavior on the web are also shaped by browser support and web specs. For technical background, the W3C graphics resources are a reliable reference.
How to crop photos for social media
Social platforms are unforgiving. A beautiful photo can look awkward if the crop ignores safe areas, text placement, or platform-specific dimensions. The best social crop keeps the subject visible even in previews, grid views, and mobile feeds.
Let’s break this down by purpose:
- Profile image: Keep the face centered with enough spacing around edges
- Feed post: Use square or portrait ratios for clean presentation
- Story or reel cover: Leave room so text and interface overlays don’t hide important details
- Product post: Show the item clearly with minimal clutter
A common mistake is cropping tightly based on the full image view, not the preview thumbnail. That often cuts off hair, text, or product edges in platform grids. If you need to prepare visuals that include clear text overlays, a related AI Image Generator Prompt Helper can help you plan cleaner source images before editing.
Suggested Infographic: Common social media crop ratios with safe zones for profile, post, story, and thumbnail formats
Best practices beginners should follow
If you want cleaner results with any image cropper tool, a few small habits make a big difference. Most bad crops happen because the image is edited too quickly, without thinking about placement, balance, or final use.
- Crop with purpose, not just to make the image smaller
- Keep the main subject obvious at a glance
- Leave enough breathing room around faces and objects
- Use consistent ratios for sets of images
- Preview before downloading
- Save a copy of the original image
Here’s what experienced professionals do differently: they crop for communication. If the image is for a product page, they highlight the product. If it’s for a profile, they prioritize eye contact and framing. If it’s for a blog, they make sure the visual still works as a thumbnail.
When organizing image-heavy design work, some people also use tools like a PDF to Images tool to extract visuals from brochures, presentations, or client files before cropping each image separately.
Common image cropping mistakes to avoid
The wrong crop can make a good photo look amateurish. Fortunately, most problems are easy to prevent once you know what to watch for.
1. Cropping too close
This usually happens with profile photos and portraits. The image feels cramped, and small screen previews may cut into the subject even more.
2. Ignoring aspect ratio
If you crop freely and only later upload the image, some platforms will force a center crop that ruins your composition.
3. Cutting off important details
Hands, product edges, text, logos, and faces often get clipped by accident.
4. Using a low-resolution original
If the starting image is already small, heavy cropping will quickly reduce quality.
5. Forgetting file size
A well-cropped image can still be too large for websites or email if it’s never compressed.
6. Editing without a final destination in mind
This is the biggest issue. The best crop for a website banner is not the best crop for a social post or messaging app thumbnail.
If you frequently work with screenshots, you may also benefit from an Screenshot to PDF tool for organizing multiple clipped images after cropping.
When should you crop before resizing?
In most cases, crop first. That keeps your attention on composition before you reduce dimensions. Once the image is framed correctly, resizing becomes easier and more accurate.
Crop first when:
- You need to remove distractions
- You want a specific shape such as square or portrait
- The subject is too small within the frame
- You’re preparing images for thumbnails or profile photos
Resize first only when the original file is extremely large and difficult to handle on an older device or slow connection. Even then, avoid reducing it too much before deciding the crop area.
For developers or site owners working with automated image handling, MDN’s HTML image element reference is useful for understanding how images behave in responsive layouts.
How to choose the right file format after cropping
Saving the cropped image in the right format matters just as much as the crop itself. The wrong format can create larger files, reduce editing flexibility, or make transparent backgrounds disappear.
| Format | Best For | Notes |
|---|---|---|
| JPG | Photos and web images | Smaller files, no transparency |
| PNG | Graphics, logos, transparent backgrounds | Larger files, better for sharp edges |
| WebP | Modern web use | Good compression and quality balance |
Google’s web.dev image optimization guidance is especially helpful if your goal is website performance. For beginners, the easy rule is this: use JPG for most photos, PNG if transparency matters, and WebP for efficient web delivery when supported by your workflow.
Is an online image cropper tool safe to use?
An online image cropper tool can be safe, but the answer depends on one thing: how the tool handles your files. If you’re cropping personal, client, financial, or sensitive images, always check the privacy terms before uploading anything.
Good safety habits include:
- Use trusted tools with clear privacy information
- Avoid uploading sensitive IDs, contracts, or private documents unless necessary
- Delete local copies only after confirming the final file is correct
- Prefer secure websites that use HTTPS
- Read policies on file retention and deletion
For general web safety guidance, the FTC’s online safety advice is a good reminder to be careful about where you upload files. If your image comes from a document and includes personal data, crop out unnecessary details before sharing it anywhere.
Quick workflow examples
Sometimes the easiest way to understand cropping is to see how it fits into real tasks. Here are a few simple beginner-friendly examples.
Example 1: Cropping a profile photo
- Upload the original image
- Choose a square crop
- Center your face with space above and below
- Preview how it looks at small size
- Save and compress if needed
Example 2: Cropping a product photo for an online store
- Select a consistent ratio for all products
- Keep the product centered
- Remove extra empty background
- Resize to your store’s preferred dimensions
- Export in a web-friendly format
Example 3: Cropping a blog image
- Check your theme’s featured image size
- Use a wide ratio such as 16:9
- Make sure the focal point still looks good in thumbnail view
- Compress before uploading to improve load time
If you’re creating a full content workflow, related utilities such as an image design tools collection can help you move from cropping to resizing, converting, and optimizing without switching between unrelated services.
Frequently asked questions
Can I use an image cropper tool without losing quality?
Yes, but only up to a point. Cropping itself does not automatically ruin an image. The main quality loss happens when you crop too much from a low-resolution original or repeatedly re-save the file in a lossy format like JPG. Start with the highest-quality image available, crop only what you need, and export once using the right format. If the final image is for the web, compress it carefully after cropping.
What size should I crop my image to for social media?
It depends on the platform and format. Profile photos usually work best as squares. Feed images often use square or portrait ratios, while stories and full-screen mobile posts use vertical formats such as 9:16. The safest approach is to decide the destination first, then crop to match that shape. If you post across multiple platforms, create separate versions instead of forcing one crop everywhere.
What is the difference between cropping and trimming an image?
In everyday use, people often mean the same thing. Both refer to cutting away unwanted parts of an image. Technically, “crop” is the more standard editing term. “Trim” can also imply automatically removing blank edges or margins in some software. If you are using an online editor, look for crop settings, aspect ratio controls, and preview options rather than focusing on the exact wording.
Should I crop before converting PNG to JPG?
Usually, yes. Crop first so you only process the part of the image you actually want to keep. After that, convert to the format that fits your goal. If you need transparency, stay with PNG or another format that supports it. If transparency does not matter and you want smaller file size, JPG may be better. This order keeps your workflow simpler and avoids unnecessary extra edits.
Is there a best crop ratio for websites?
There is no single best ratio for every website. A featured blog image often works well in 16:9, while team headshots may look better in 1:1 or 4:5. Product grids often benefit from consistency, which is more important than choosing a universally “perfect” ratio. Think about where the image appears, how it looks on mobile, and whether it will also be shown as a thumbnail.
Can I crop images on my phone as well as desktop?
Yes. Most online image cropper tools work on both mobile and desktop browsers. Cropping on a phone is useful for quick edits, profile photos, and social posts. Desktop is often easier when you need precision, multiple edited versions, or coordination with website layouts. If accuracy matters, preview the final crop on the device where the image will actually be viewed most often.
Are free online image cropper tools good enough for professional use?
Often, yes. For common tasks such as social media images, product crops, blog thumbnails, banners, and profile photos, a free tool is usually enough if it offers image quality controls, aspect ratio options, and a clean export process. Professional use depends more on consistency and workflow than on complexity. If you need advanced retouching, layered editing, or batch processing, you may need additional software.
What should I do after cropping my image?
After cropping, check three things: dimensions, file size, and format. Make sure the image fits the platform where it will be used. If it is for a website, reduce file size for faster loading. If the format is not ideal, convert it before uploading. It also helps to rename the file clearly and keep the original version in case you need a different crop later.
Final thoughts
A good image cropper tool does more than cut edges off a photo. It helps you control focus, improve composition, and prepare visuals that actually fit their destination. For beginners, that means faster edits, better-looking images, and fewer frustrating do-overs.
The simplest approach is this: crop for focus, resize for dimensions, compress for speed, and convert only when the format needs to change. If you want a smoother workflow, useful next steps include trying an Image Resizer, an Image Compressor, an