Large images quietly slow down a lot of business websites. Pages look good in design review, then load poorly on real devices, especially on mobile connections. The result is familiar: higher bounce rates, weaker engagement, and product pages that feel heavier than they should.
An image optimizer helps solve that problem by reducing file size while keeping visuals clear enough for real users. Done well, image optimization improves speed, supports SEO, and makes a site feel more professional without forcing a visible drop in quality.
This guide explains what an image optimizer does, how it works, which formats to choose, and what businesses should actually optimize in 2026. If you want faster pages without turning your images into blurry messes, this is where to start.
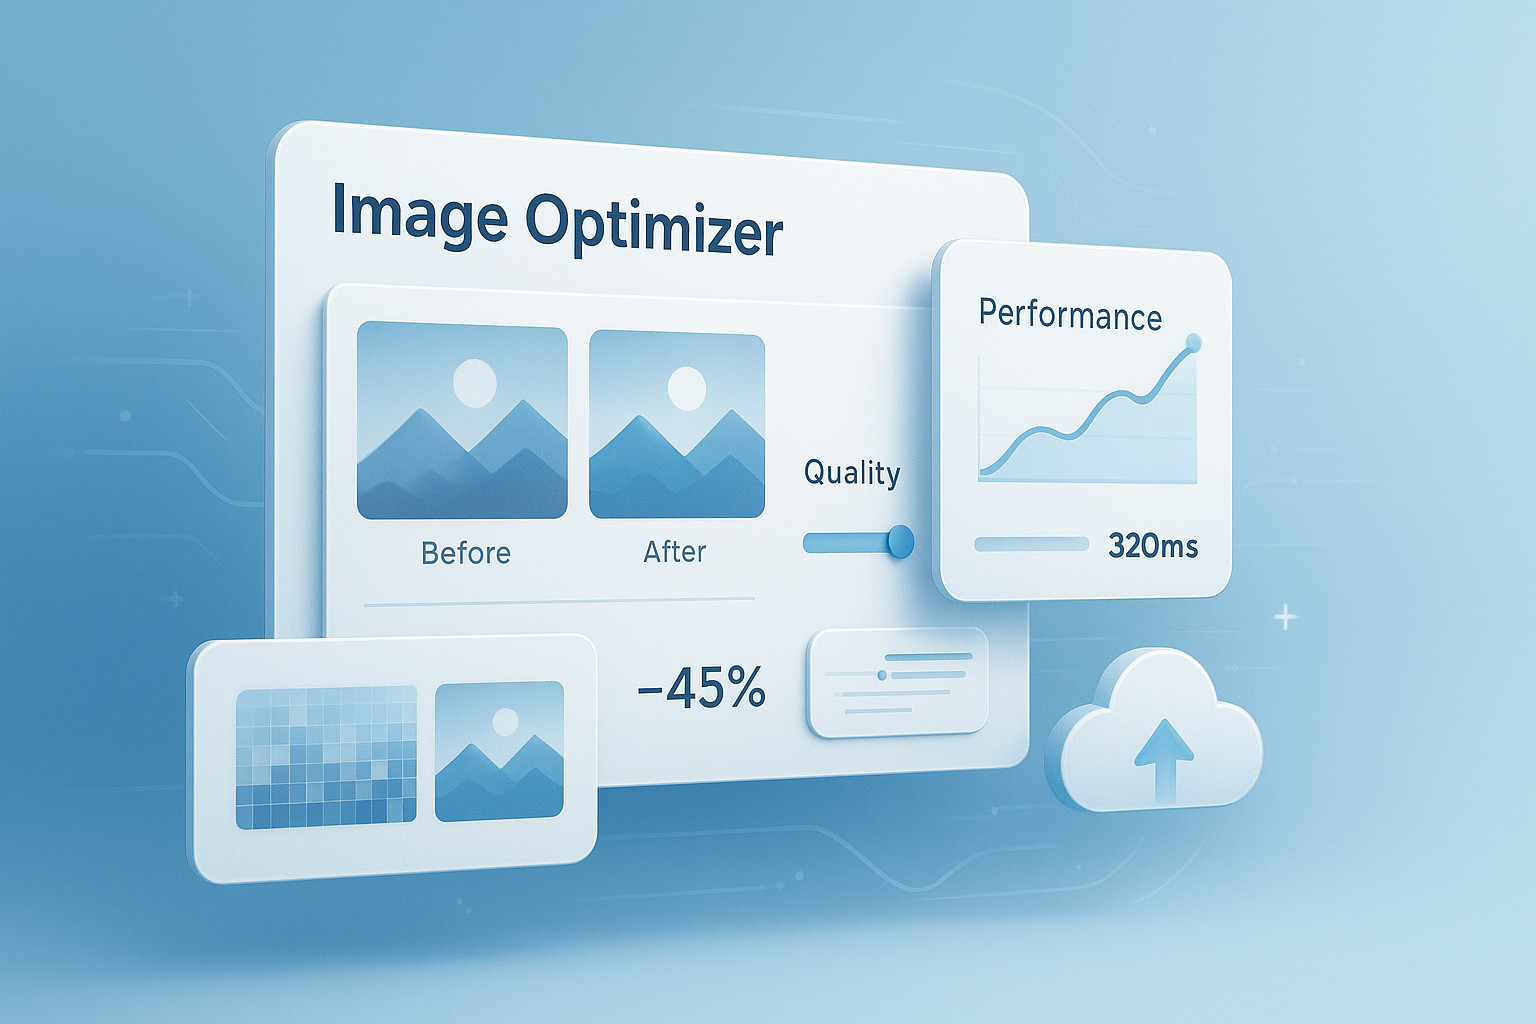
Suggested Image: Technology concept showing website speed, image compression, and multiple device screens
What is an image optimizer?
An image optimizer is a tool or process that reduces image file size while preserving as much visual quality as possible. It can compress files, resize oversized images, convert them into modern formats, and remove unnecessary metadata so web pages load faster.
In practical terms, an image optimizer helps businesses balance three things at once:
- Fast loading pages
- Good visual quality
- Efficient use of bandwidth and storage
This matters because search visibility and user experience are closely tied to performance. Google’s guidance on page experience and speed makes it clear that faster pages create better outcomes for users and site owners alike. You can review the broader principles in Google Search documentation.
If your team also handles visual assets across different dimensions, a simple image resizer can help prepare the correct display sizes before compression, which often produces better results than compressing oversized files first.
Why image optimization matters for businesses
Image optimization affects more than aesthetics. For businesses, it touches conversion rate, SEO, ad efficiency, hosting costs, and the day-to-day usability of the website across mobile and desktop devices.
Here’s the problem. Many business sites upload hero banners, product photos, team images, and blog graphics exactly as they came from a camera, designer, or stock platform. Those files are often far larger than the browser ever needs to display.
Business impact at a glance
- Faster pages reduce friction for visitors
- Smaller images improve mobile performance
- Optimized assets can support stronger Core Web Vitals
- Lower file sizes reduce bandwidth consumption
- Cleaner media libraries are easier to manage at scale
Page speed also affects how users behave. Slow pages can interrupt browsing before visitors even see your offer. For organizations tracking web performance, Google’s Largest Contentful Paint guidance on web.dev is especially relevant because large above-the-fold images frequently contribute to poor LCP scores.
If your team publishes content regularly, using an Image Compressor alongside a publishing workflow can prevent oversized uploads from becoming a recurring problem.
| Without Optimization | With Optimization |
|---|---|
| Heavy page size | Reduced page weight |
| Slow mobile load times | Faster rendering on phones |
| Oversized media storage | More efficient asset management |
| Higher bounce risk | Smoother browsing experience |
How an image optimizer works
An image optimizer improves efficiency by removing waste from image files. That may include excess pixel dimensions, hidden metadata, color information that isn’t critical, or compression patterns that can be tightened without creating obvious visual damage.
Most optimization workflows involve some combination of the following:
- Resize the image to its real display dimensions
- Choose the best file format for the use case
- Compress the image using lossy or lossless methods
- Strip metadata when it is not needed
- Test quality on desktop and mobile screens
Lossy vs lossless compression
This is where many people get confused. Not all compression works the same way.
| Compression Type | Best Use | Main Tradeoff |
|---|---|---|
| Lossless | Logos, interface elements, files needing exact detail | Smaller savings |
| Lossy | Photos, banners, blog images, product imagery | Some data is discarded |
Lossless compression preserves every original detail but usually produces more modest file-size reduction. Lossy compression removes some data to save much more space. For most website photography, careful lossy compression is the better practical choice.
If you need to compare output dimensions before export, an aspect ratio calculator can help teams avoid awkward crops, stretched thumbnails, and unnecessary re-exports.
Which image format should you use?
The best image format depends on the content of the image, where it appears, and which browsers or systems need to support it. There is no single best format for every situation.
JPEG
JPEG is still useful for photos and complex images with lots of color variation. It usually delivers good compression, but it is less efficient than newer formats in many cases.
PNG
PNG is ideal for transparency, logos, UI graphics, screenshots, and images where sharp edges matter. The downside is file size, especially for large photographic images.
WebP
WebP is widely supported and often provides a strong balance between quality and file size. For many modern websites, it is a practical default for blog images, product shots, and marketing graphics. Google provides a useful overview of WebP image format benefits.
AVIF
AVIF can produce even smaller files than WebP at similar quality levels, especially for photographic content. It’s a strong option for performance-focused sites, though workflow compatibility should be tested before rolling it out broadly.
SVG
SVG is best for vector-based graphics such as icons, illustrations, and logos. Because it scales cleanly without losing sharpness, it’s often better than raster formats for simple graphic elements. MDN has a concise explanation of how SVG works.
| Format | Best For | Watch Out For |
|---|---|---|
| JPEG | Photographs | Visible artifacts at high compression |
| PNG | Transparency, screenshots, logos | Large files for photos |
| WebP | Modern web images | Workflow compatibility checks |
| AVIF | High-efficiency web delivery | Slower encoding in some workflows |
| SVG | Icons and vector artwork | Not suitable for photographic detail |
How to optimize images for the web step by step
The most effective image optimizer workflow is simple: start with the right dimensions, export in the right format, compress responsibly, and test on real pages. Businesses that follow a repeatable process usually get better results than those treating optimization as a one-time cleanup.
- Audit your current images. Identify oversized files, especially home page banners, category headers, blog thumbnails, and product galleries.
- Resize before upload. Don’t upload a 4000-pixel image if the site only displays it at 1200 pixels.
- Choose a web-friendly format. Use WebP or AVIF when your platform supports them well. Keep PNG for transparency or design-specific needs.
- Compress to the lowest acceptable weight. Review images visually instead of relying only on a preset percentage.
- Use responsive images. Deliver different sizes to different devices where possible.
- Lazy-load below-the-fold images. This reduces initial page weight for long pages.
- Check performance after publishing. Test key pages and adjust assets that still slow rendering.
For teams working across many design assets, a PNG to JPG converter can be helpful when transparency is not needed and file size matters more than pixel-perfect editing flexibility.
Suggested Screenshot: Before-and-after example of one hero image resized, converted, and compressed for web use
What should businesses optimize first?
Start with the images that have the biggest impact on traffic, conversions, and load speed. Not every file deserves the same level of attention, especially on large websites.
Here’s what experienced professionals do differently. They optimize images based on business value, not just file count.
High-priority images
- Homepage hero images
- Product listing thumbnails
- Product detail galleries
- Blog featured images
- Landing page banners
- Location and portfolio images
Lower-priority images
- Old blog graphics with little traffic
- Archived campaign assets
- Internal-use files not shown publicly
- Decorative images hidden deep in the site
If you are cleaning up an existing content library, it helps to review image dimensions in batches. Teams that also move visual assets into downloadable resources may find a JPG to PDF tool useful for turning image sets into shareable documents without storing dozens of separate files on a public page.
Common image optimization mistakes
Most image problems are not caused by using the wrong tool. They come from small workflow mistakes that compound over time: uploading giant originals, choosing the wrong format, or compressing without checking how the image actually looks on the page.
- Uploading full-resolution camera files: Websites rarely need original dimensions.
- Using PNG for all images: This often creates unnecessary weight, especially for photographs.
- Compressing too aggressively: Savings aren’t worth it if product images look cheap.
- Ignoring mobile display: Images that look fine on desktop can feel slow on phones.
- Forgetting alt text and file naming: Optimization is not only about file size.
- Leaving metadata untouched: EXIF data can add unnecessary bytes.
- Skipping testing after upload: CMS themes and plugins can alter delivery behavior.
For image-heavy content teams, keeping a consistent asset checklist is just as important as using the right tool. If multiple graphics need uniform dimensions before compression, an image crop tool can help maintain cleaner layouts and reduce uneven rendering across templates.
How image optimization supports SEO and AI search visibility
An image optimizer helps SEO by improving loading speed, reducing page weight, and supporting a smoother user experience. It does not directly replace broader SEO work, but it strengthens the technical foundation that search engines and users both care about.
Now comes the important part. AI-powered search systems also rely on well-structured pages, clear context, and efficient delivery. Heavy pages with poorly handled media make it harder for users to access the content, especially on mobile.
SEO benefits of optimized images
- Better page speed and performance signals
- Improved mobile usability
- Stronger engagement potential
- Cleaner image indexing opportunities
- More accessible content when alt text is handled properly
Google’s image best practices are worth reviewing directly in the Google Images best practices documentation. For technical implementation details like responsive image behavior, MDN also provides strong reference material on responsive images in HTML.
If you are improving media as part of a larger optimization effort, browsing FreeToolr’s image design tools can help teams standardize format conversion, resizing, and visual preparation in one workflow.
Image optimization best practices for 2026
The fundamentals haven’t changed, but the standard has risen. In 2026, users expect fast visual experiences, and businesses need image workflows that support modern formats, mobile performance, and scalable publishing.
- Use modern formats like WebP where practical
- Test AVIF for photo-heavy pages
- Serve properly sized responsive images
- Compress before uploading, not just after
- Keep original source files separate from web delivery files
- Prioritize above-the-fold image performance
- Review image quality on high-density screens
- Document export settings in brand or CMS guidelines
A simple quality-control checklist
- Does the image match the actual display size?
- Is the format appropriate for the content type?
- Can file size be reduced further without visible damage?
- Does it load quickly on mobile?
- Does the image still look trustworthy for a customer-facing page?
Businesses that create both web content and marketing documents may also benefit from a PDF Compressor to keep downloadable brochures, catalogs, and visual resources lightweight alongside optimized website images.
Practical examples by business type
The right image optimizer strategy depends on what your business publishes. An ecommerce brand, local service company, and SaaS business may all use images differently, so the priorities change.
Ecommerce store
Focus on category thumbnails, product galleries, lifestyle images, and banners. Product pages often contain many images, so small savings repeated across dozens of files can create large performance gains.
Local business website
Optimize staff photos, service area banners, trust-building visuals, and location images. These pages don’t always have many assets, but large uncompressed photos often hurt mobile users the most.
SaaS or tech company
Reduce the weight of screenshots, feature graphics, comparison visuals, and documentation images. PNG overuse is common here because teams prioritize clarity but forget efficiency.
Publisher or blog
Standardize featured image dimensions, compress every article image before upload, and avoid embedding huge infographics without responsive handling.
| Business Type | Top Priority | Recommended Focus |
|---|---|---|
| Ecommerce | Product image speed | Compression, modern formats, gallery sizing |
| Local business | Mobile page usability | Banner resizing, photo cleanup |
| SaaS | Sharp but efficient screenshots | Format selection, PNG reduction |
| Publisher | Scalable content workflow | Template sizes, batch optimization |
Frequently asked questions
Does an image optimizer reduce quality?
Sometimes, but not always. Lossless optimization does not remove visual detail, while lossy optimization trades a small amount of image data for larger file-size savings. The goal is not zero quality change. The goal is making changes small enough that users do not notice them in normal viewing conditions. For most web pages, careful compression produces faster loading without harming trust or usability.
What is the best image format for websites?
There is no universal answer. WebP is often the most practical choice for modern websites because it balances quality and file size well. JPEG still works for photos, PNG is useful for transparency and sharp graphics, SVG is ideal for vector artwork, and AVIF can outperform other formats in some cases. The best format depends on the image type, browser support, and your publishing workflow.
How much can image optimization improve page speed?
The answer depends on how image-heavy the page is and how inefficient the original files were. On pages with oversized banners, product galleries, or full-resolution uploads, image optimization can produce major gains because images often make up the largest share of page weight. The biggest improvements usually come from resizing oversized files first, then converting and compressing them properly.
Should businesses optimize images before or after uploading them?
Before uploading is usually better. Pre-optimized images reduce server strain, improve media library organization, and lower the risk of giant originals being accidentally served to users. Some platforms and plugins can optimize after upload, which helps, but that should support your workflow rather than replace basic image preparation. Starting with the right dimensions and format gives the best results.
Is WebP always better than PNG or JPEG?
No. WebP is often more efficient, but “better” depends on context. For many photos and marketing images, WebP is a strong choice. But PNG may still be preferable when transparency or exact edge detail matters, and JPEG may fit older workflows or software limitations. The right approach is to compare file size, quality, and compatibility rather than assume one format wins every time.
Can image optimization help SEO directly?
It helps mostly through indirect but important factors. Smaller images can improve page speed, mobile performance, and user experience, all of which support stronger SEO outcomes. Optimization also makes it easier to maintain a technically cleaner site. On its own, it will not guarantee higher rankings, but it supports the performance and usability signals that search engines increasingly value.
Are online image optimizer tools safe to use?
They can be, but review the provider before uploading sensitive files. Public product photos, blog graphics, and standard marketing images are usually lower risk than confidential documents, customer images, or regulated content. Check whether files are stored, how long they are retained, and whether the service uses secure connections. Businesses with strict privacy needs may prefer local or controlled workflow options.
What should I optimize first on a business website?
Start with images that affect revenue, traffic, or first impressions. That usually means homepage visuals, landing page banners, product images, and blog featured images on high-traffic pages. After that, move to category pages, support content, and older assets. Prioritizing by business value leads to faster results than trying to optimize every image on the site at once.
Conclusion
An image optimizer is one of the simplest ways to improve website performance without redesigning the entire site. For businesses, the payoff is clear: smaller files, faster pages, better user experience, and a stronger technical foundation for SEO and AI search visibility.
The smartest next step is to audit a few high-impact pages first. Check your hero images, product photos, blog thumbnails, and landing page banners. Resize them properly, choose better formats, and compress them with care. Then measure the difference.
If you want to keep improving your media workflow, useful next tools include the Image Compressor, image resizer, aspect ratio calculator, and image design tools. A better image process usually starts with one page, then quickly becomes a site-wide advantage.